
Halloween decor has a way of costing more than the party it’s for. A single resin skull at the craft store runs $24, and by the time you’ve bought three of them plus a garland, you’ve spent more on a room that gets torn down November 1st than you spent on the kids’ costumes.
The good news is that the living room is the easiest room in the house to fake. It already has lamps, shelves, a couch, and a coffee table — you’re just borrowing them for a month. Almost everything below costs under $10, and about half of it costs nothing because you already own the parts.
These are grouped by how much work they take, so you can skip straight to the ones that match your energy level tonight.
Lighting Tricks That Do Most of the Work
Lighting changes a room faster than any object you can set on a table. Change what’s coming out of your existing lamps and half the decorating is already finished.
1. Swap Your Bulbs to 2200K
Pull the bulbs out of your two main lamps and replace them with 2200K “amber” or “vintage” LEDs. They cost about $3 each at the hardware store and throw a dim orange-gold light that makes an ordinary room look like it’s lit by fire.
This works better than any orange gel or colored bulb because it doesn’t announce itself. Guests walk in and can’t name what changed. Nothing looks like a Halloween product, but the whole room reads as candlelit.
Skip anything sold as a “Halloween bulb” in purple or green — those tint everyone’s skin and read as party supply. Amber is the one that flatters.

2. Put a Lamp on the Floor
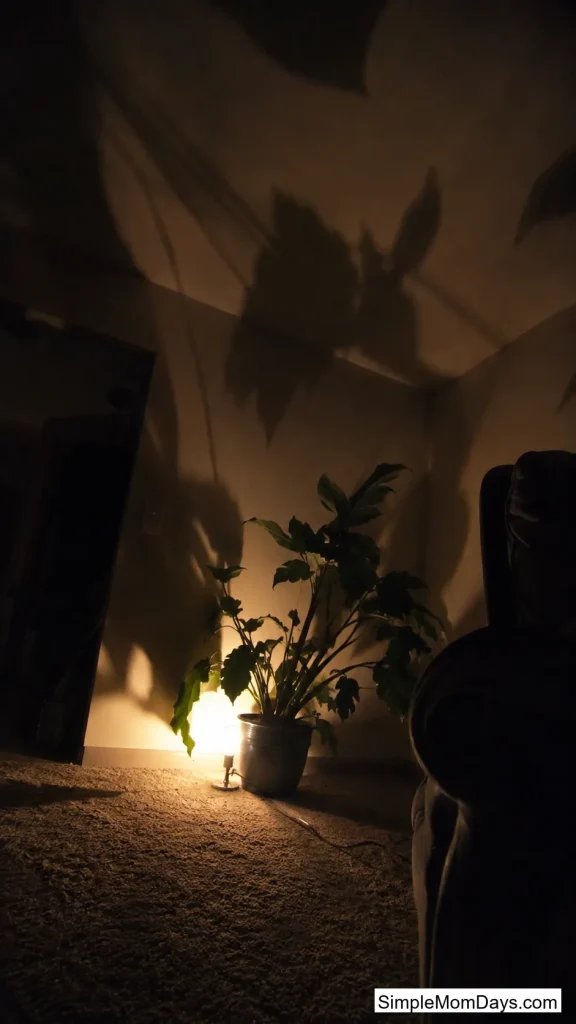
Take a small table lamp off the side table, take the shade off, and set the bare bulb on the floor behind an armchair or in a corner. Everything above it now casts a shadow upward instead of down.
Uplighting is the single cheapest horror-movie effect there is, because our brains file bottom-up light as wrong. A plant lit from below throws claw shadows across your ceiling for free.
Use an LED bulb, not incandescent, since it’ll be running low to the ground near carpet. Warm-white or amber both work.
3. Aluminum Foil Behind a Candle
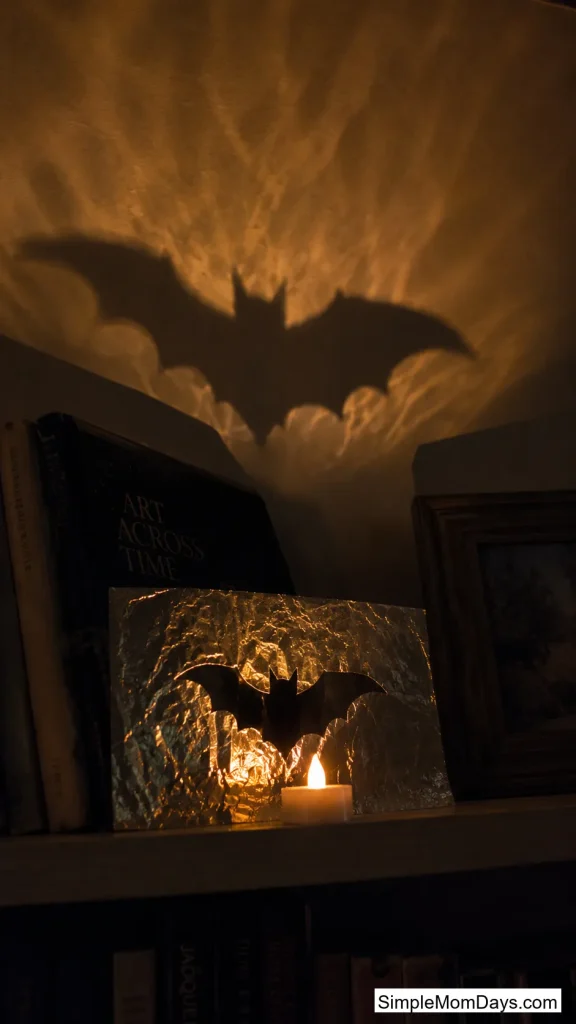
Cut a bat, cat, or spider shape into a square of aluminum foil and stand it up behind a battery tea light on a shelf, cut side facing the wall. The shape projects several feet up, soft-edged and rippling.
It’s the same physics as a shadow puppet, but with a fixed light source it just sits there and works all night. Free, and you can cut a new shape in two minutes when you get bored of the first one.
4. Tape a Silhouette Inside Your Lampshade
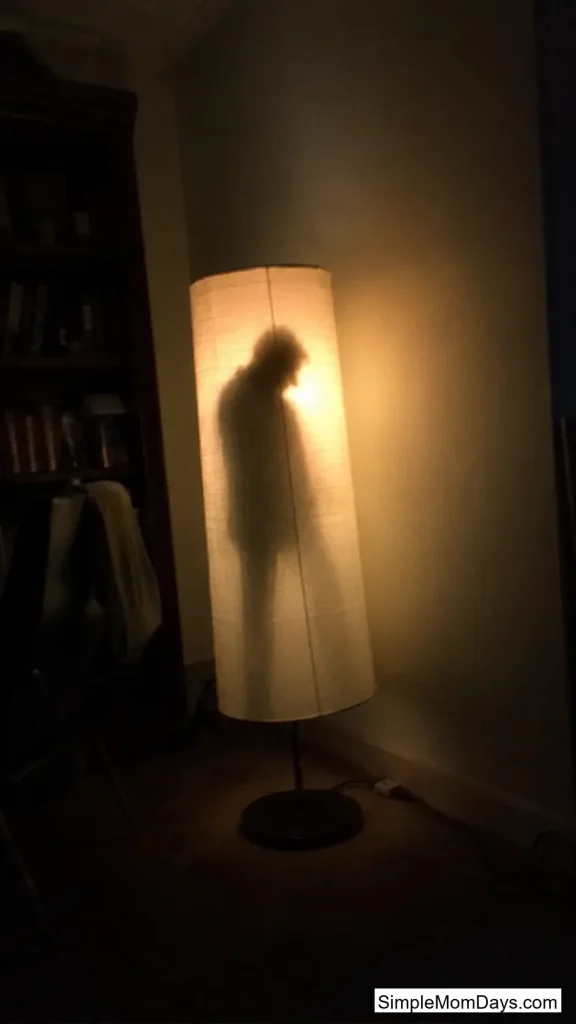
Cut a hunched figure out of black paper and tape it to the inside of a lampshade you already have, facing outward. Off, the lamp looks normal. On, there’s a shape standing in it.
People notice this one late — usually after they’ve been sitting near it for twenty minutes — which is more satisfying than anything they clock on the way in. Keep the shape simple and vertical; detail gets lost through the fabric.
Ideas That Use Things You Already Own
The most convincing Halloween rooms are mostly ordinary objects arranged strangely. Nothing here needs a store run.
5. Turn Your Bookshelf Backward
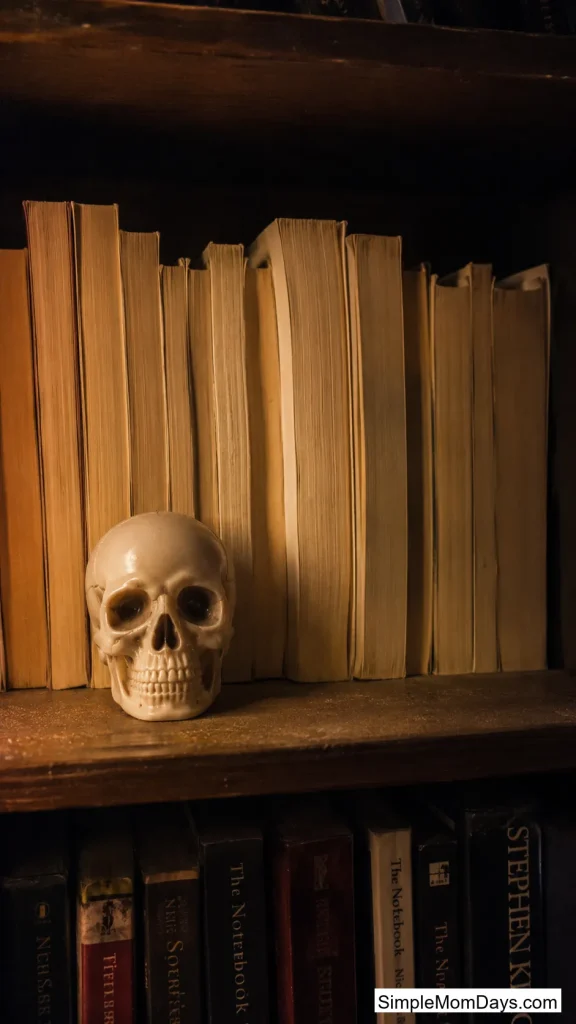
Pull twelve or fifteen books off the shelf and put them back spine-in, so the page edges face out. You get a wall of yellowed, uneven cream-colored blocks with no titles.
It reads instantly as a library nobody’s touched in decades, and it costs zero dollars and about four minutes. Add one skull or one candle in front and the whole shelf is done.
Do a section, not the whole bookcase. Fully reversed looks like a staging trick; partially reversed looks like the house did it on its own.
6. Cover One Piece of Furniture in a Bedsheet
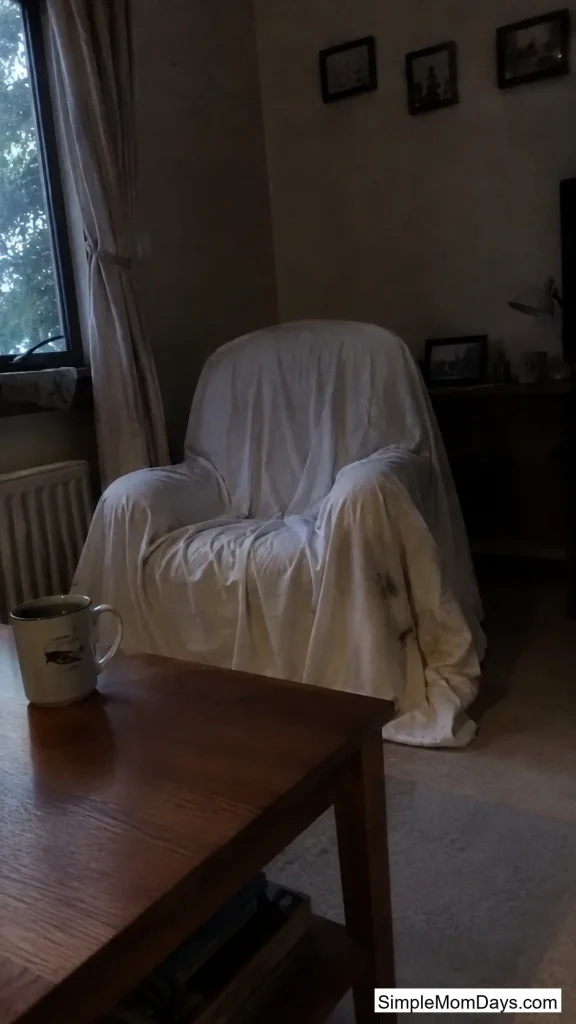
Throw a white flat sheet over a single armchair or side table and let it hang unevenly. One draped piece in an otherwise normal room says “this house has been closed up for years” better than draping everything does.
The mistake most people make is covering the whole room, which just looks like a moving day. One piece is a story. Five pieces is a chore.
Crumple the sheet into a ball first and leave it overnight — the creases sell the age better than a smooth drape does.
7. Fill a Vase With Yard Branches
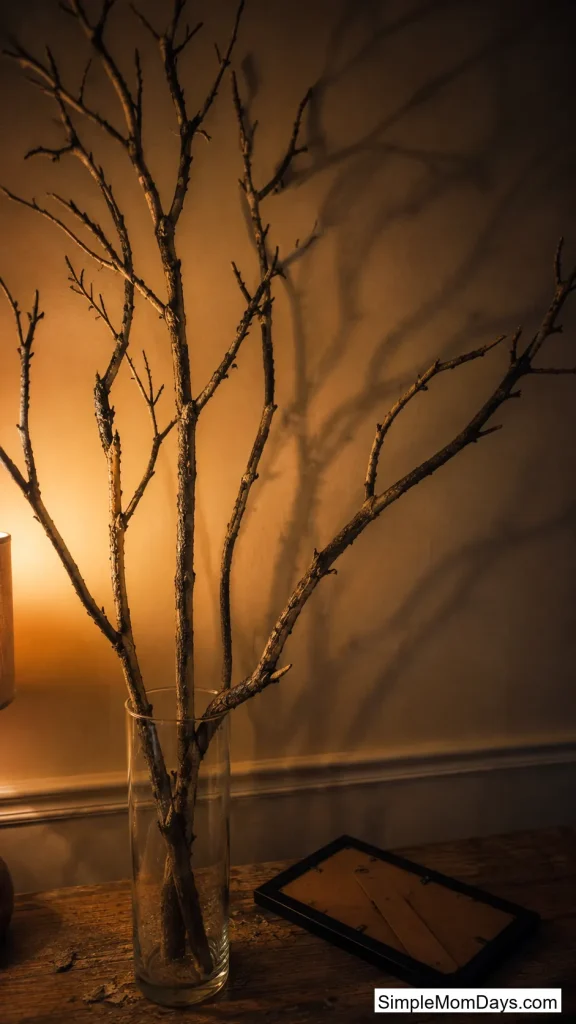
Cut four or five bare branches from your yard and put them in a tall vase or an empty wine bottle. Dead branches indoors look uncanny in a way faux ones never manage, because the twigs go in directions no factory would design.
Bake them at 200°F for an hour first to kill anything living in the bark, then let them cool. After that they’re good for years of storage.
8. Flip One Picture Frame to Face the Wall
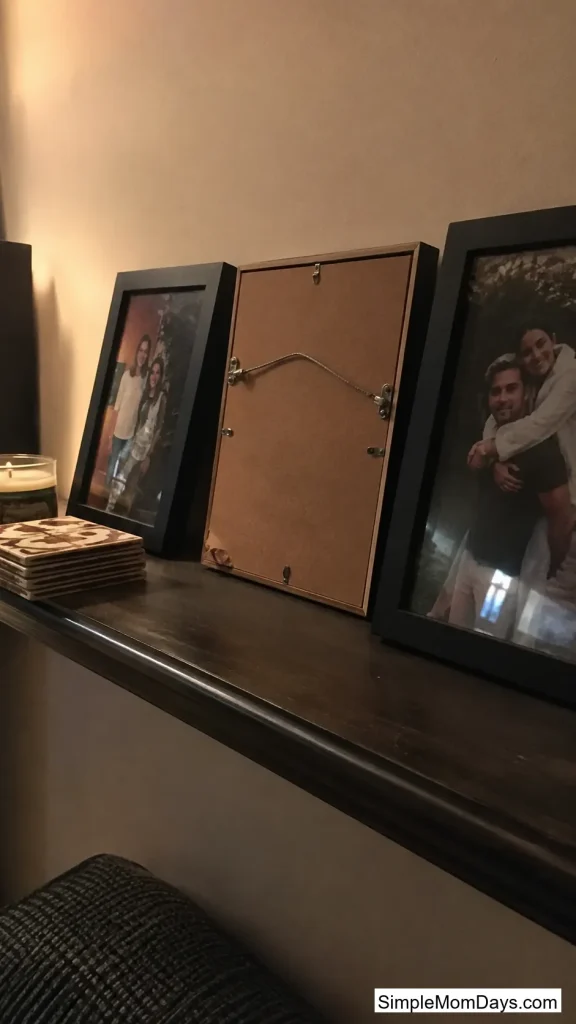
Turn a single framed photo on your shelf around so the back faces the room. Leave everything else alone.
It’s a tiny, cheap unsettling detail that people can’t stop looking at once they’ve spotted it. Something happened to that photo. Nobody knows what. That’s the whole idea and it costs nothing.
9. Move a Mirror to Where It Shouldn’t Be
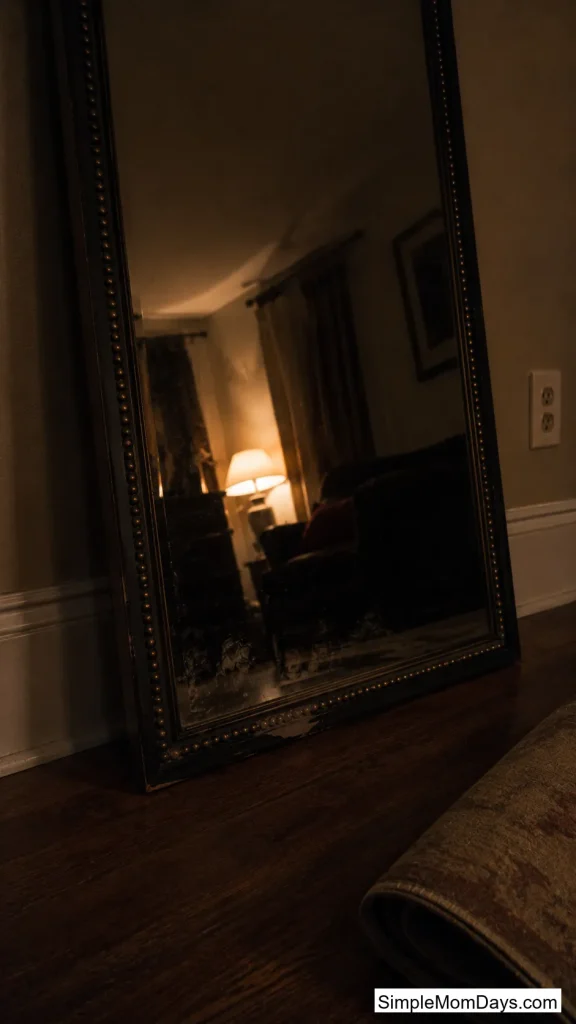
Take a mirror off the wall and lean it on the floor, tilted slightly, in a corner. Now anyone crossing the room catches a half-second of motion they didn’t expect.
You get a genuine startle out of a thing you already own, repositioned. Prop the bottom against the baseboard so it can’t slide, especially with kids or a dog in the house.
Under-$5 Store Runs
When you do spend, spend on the things that cover a lot of surface area or repeat across the room.
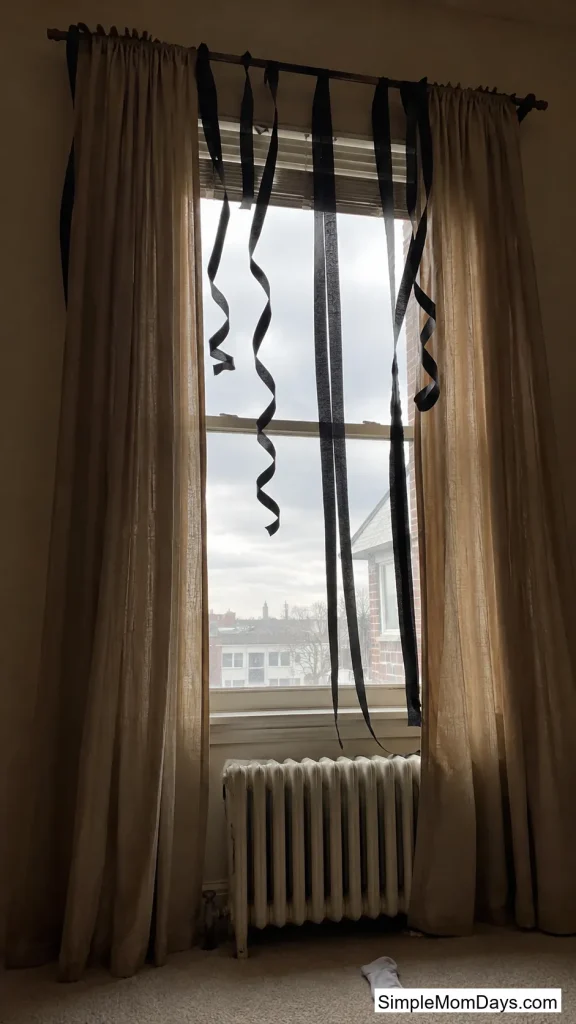
10. Black Crepe Paper Down the Curtain Rod
Twist two rolls of black crepe streamer loosely and drape them over the curtain rod so they hang down alongside the curtains. Two rolls run about $2.50 and cover an entire window wall.
Crepe has a matte, papery texture that photographs far better than shiny plastic tablecloth material, which is what most cheap Halloween decor is made of. It moves when the heat kicks on, too.
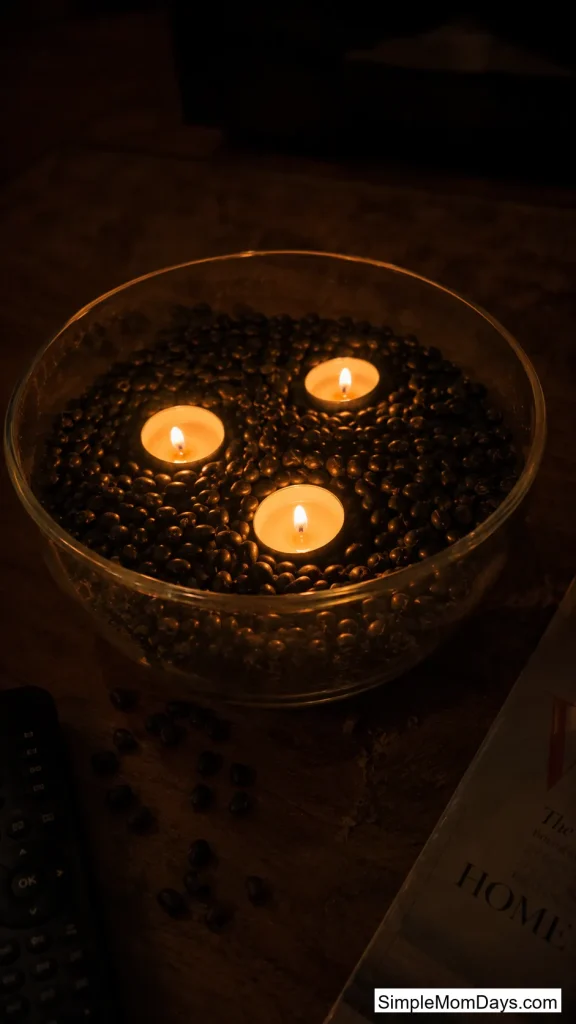
11. A Bowl of Black Beans and Candles
Pour a bag of dried black beans into a glass bowl and push three tea lights down into them. About $1.50 for the beans and you have a centerpiece with a matte black base that reads as something much more expensive.
The beans hold candles at whatever angle you push them to, so you can stagger the heights. Afterward they go back in the pantry and get cooked. Nothing wasted.
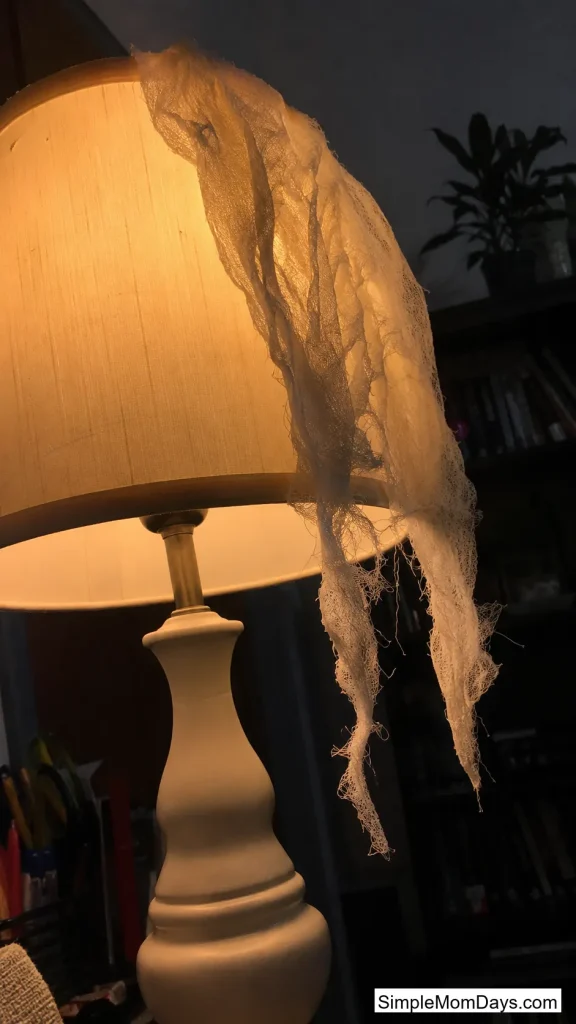
12. Cheesecloth Over the Lampshade Edge
Drape a length of cheesecloth over the top rim of a lampshade so it hangs down one side in a ragged sheet. A package is around $3 and stretches across several lamps.
Stretch and tear it by hand rather than cutting — torn edges fray into wisps that look like cobweb, and scissors leave a clean line that reads as fabric. Keep it clear of the bulb itself.
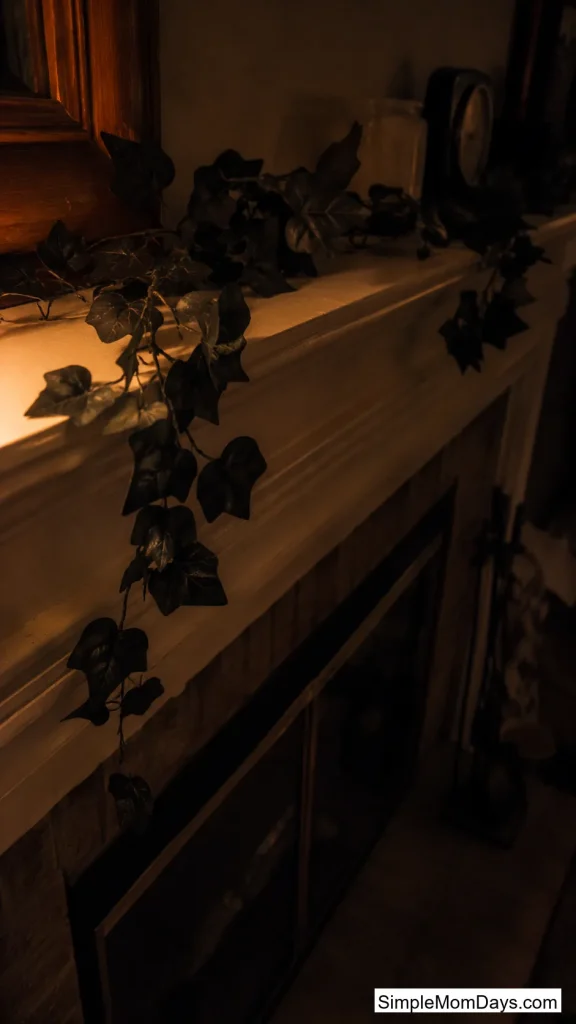
13. Fake Ivy, Spray Painted Black
Grab a strand of the cheap plastic ivy garland from the dollar store and hit it with black spray paint outside. Drape it over the mantel or down a bookshelf edge.
Black foliage looks fussy and expensive, like something from a boutique — and nobody guesses it started as $1.25 of fake greenery. One can covers three or four strands.
14. Pull a Cotton Ball Apart
Stretch cotton balls until they’re thin and stringy, then tuck them into the corner of a picture frame or the joint between two shelves. Small, patchy webs in structural corners look real. Big sheets of store webbing never do.
Restraint is the whole trick. A bag of cotton balls costs a dollar and you’ll use six of them.

Ten-Minute Crafts With Kids
These land somewhere between “decor” and “Saturday afternoon activity,” which is a good deal when the alternative is another hour of screen time.
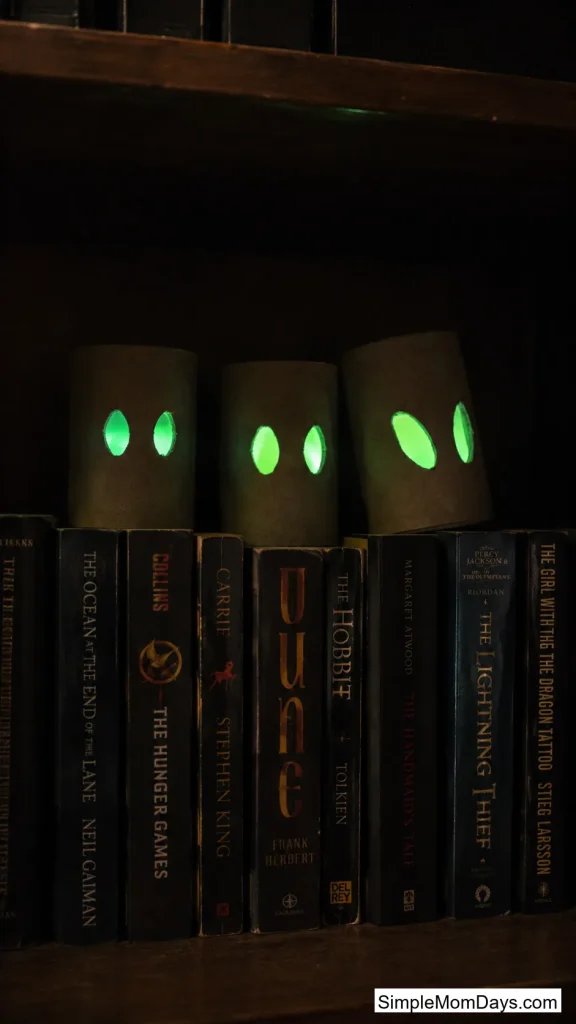
15. Toilet Paper Roll Eyes for the Bookshelf
Cut two almond-shaped eyeholes in an empty toilet paper roll, drop a green glow stick inside, and tuck it in the dark gap behind books on a low shelf. A row of glowing eyes stares out from the dark.
Kids can cut and assemble a dozen of these in fifteen minutes with zero adult help. Glow sticks run four hours, so crack them right before people arrive.
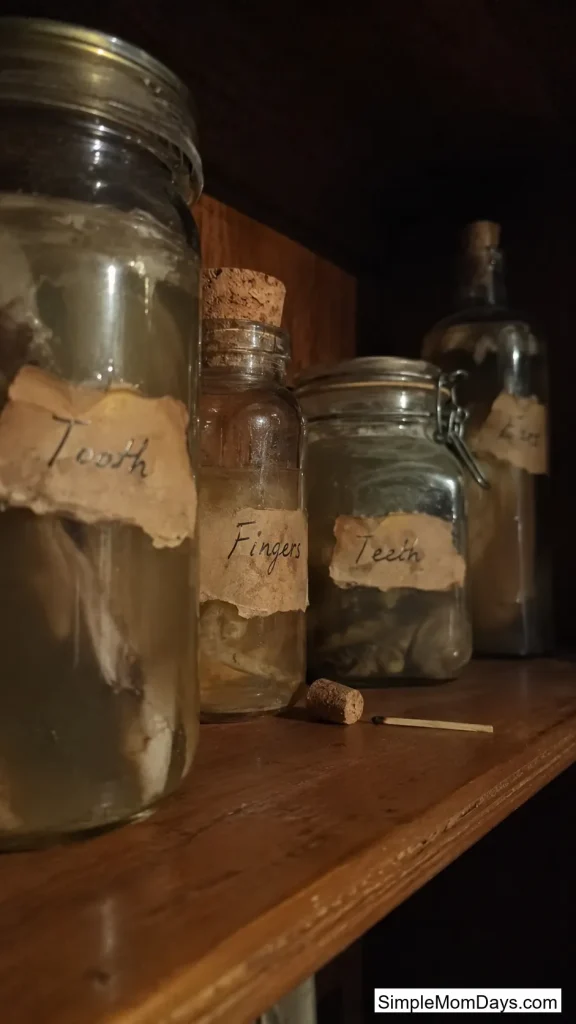
16. Coffee-Stained Potion Labels
Print or handwrite labels on plain paper, brush them with cold coffee, and let them dry rippled and brown before gluing them to empty jars from the recycling bin.
The aging step is what makes this look like a prop instead of a school project — clean white paper on a jar always looks like homework. Tear the edges instead of cutting.
Old spaghetti sauce jars are the right shape. Peel the label, soak off the glue, done.
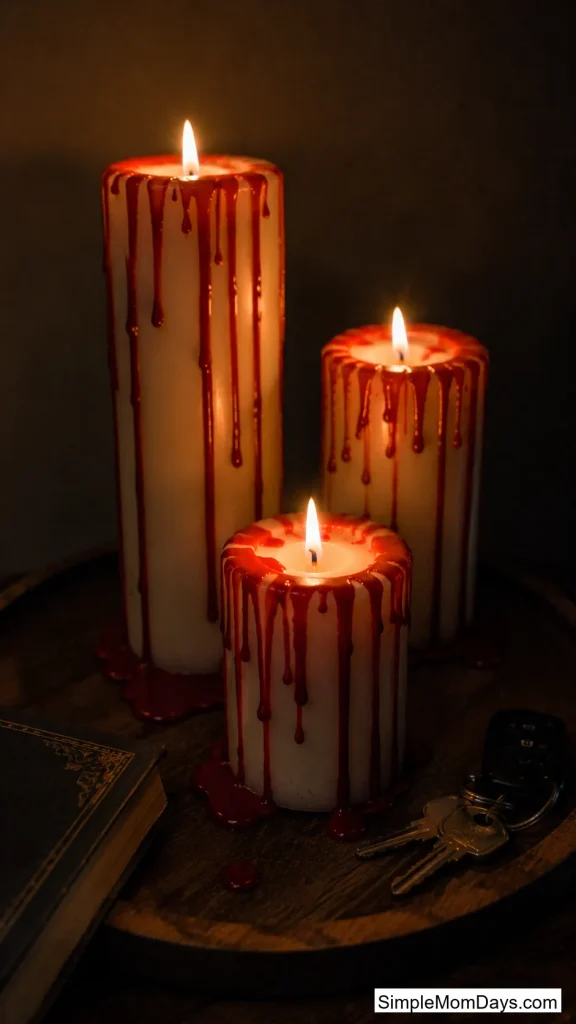
17. Melted Crayon Candles
Hold a red crayon over a lit white pillar candle so the wax drips down the sides in uneven runs. Blow out the pillar first; you’re melting the crayon with a separate lighter flame above it.
Crayon wax dries with a slight sheen and a thicker body than candle wax, so the drips sit on top and look deliberate. A pack of crayons is a dollar and does a dozen candles.
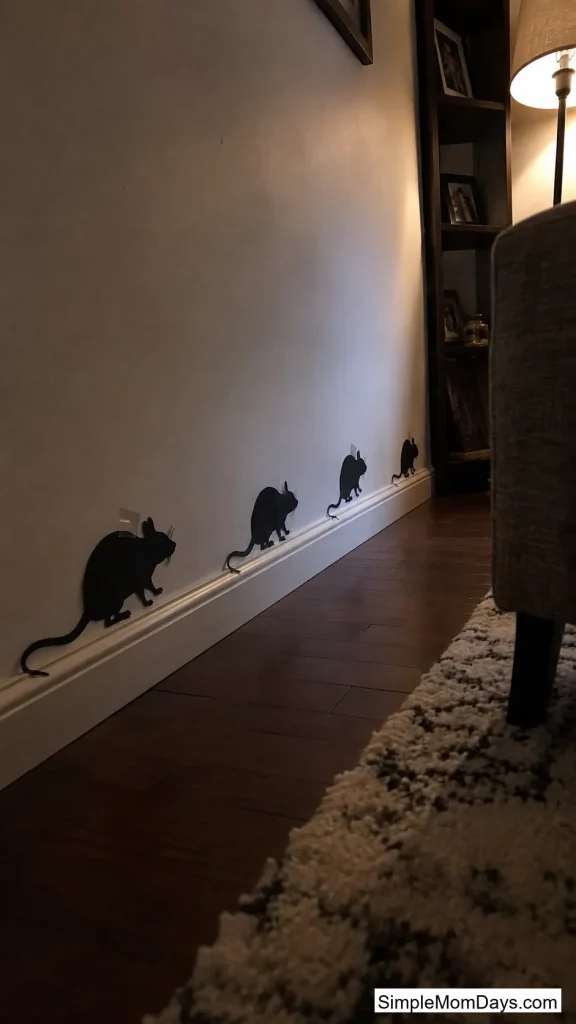
18. Rat Cutouts Along the Baseboard
Cut simple rat silhouettes from black paper and tape them low on the wall, right at the baseboard, spaced a foot or two apart and all running the same direction.
Low placement is the whole joke — they’re at eye level for the dog and in your peripheral vision, so people keep half-seeing movement at the floor. Painter’s tape comes off clean.
For Renters and No-Nail Walls
Nothing here touches your walls in a way a landlord would notice.
19. Change Your TV to a Fireplace Loop
Put a slow-burning fireplace or fog-rolling-through-woods video on the TV and leave it running with the sound off. Your biggest, brightest object in the room stops being a black rectangle and starts being the mood.
It costs nothing and it fills a wall you can’t otherwise decorate. Turn the TV’s brightness down about a third so it glows instead of glares.

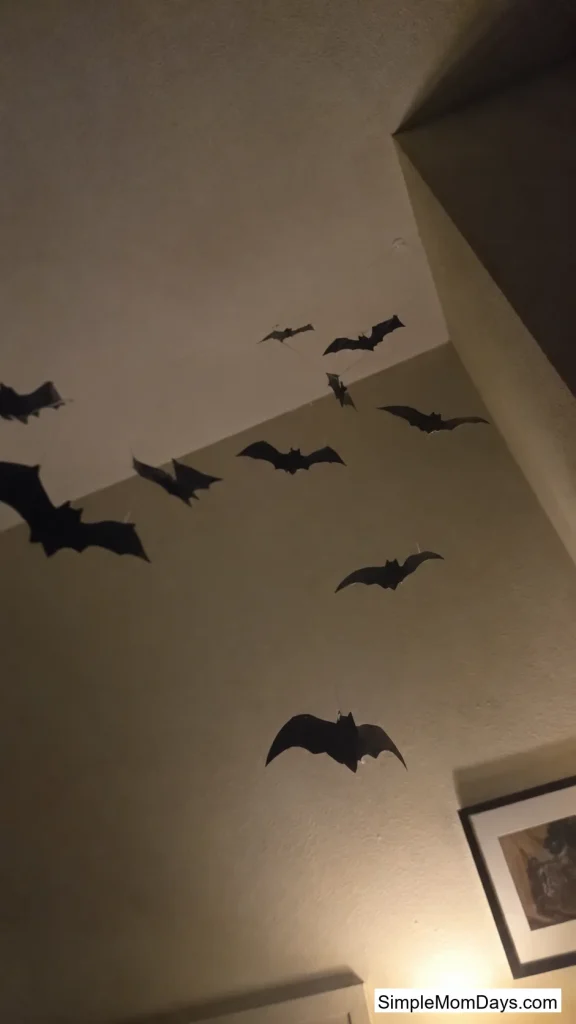
20. Command Hooks and Fishing Line for a Bat Swarm
Run clear fishing line between two Command hooks across a corner of the ceiling, then hang paper bats from it at staggered heights. The line disappears, the bats appear to float, and the hooks peel off in April with no mark.
Stagger the depths, not just the heights — some bats close to the wall, some hanging out toward the room. Flat rows read as a banner.
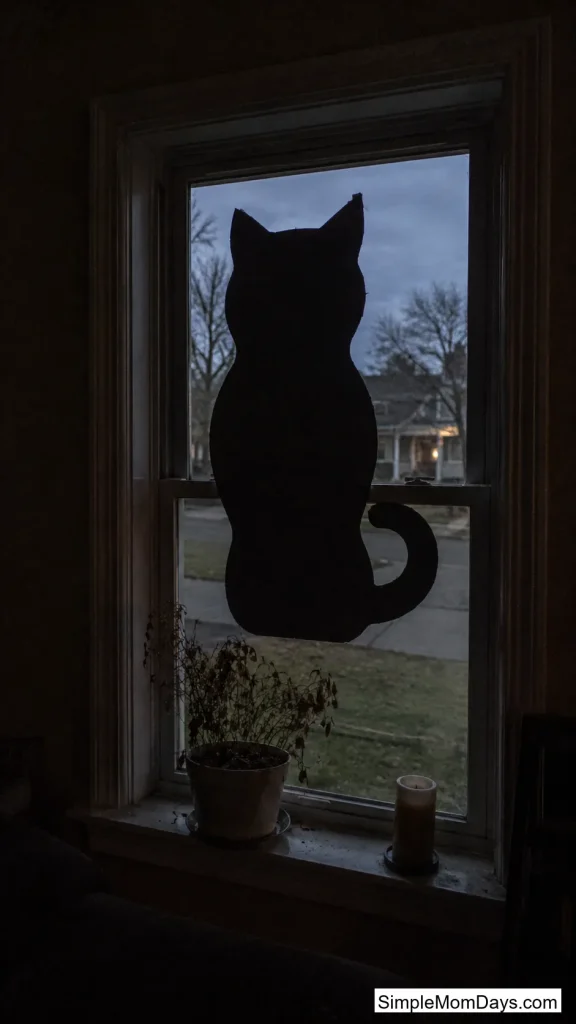
21. Window Silhouettes From Black Poster Board
Cut a large figure — a cat, a witch, a hunched shape — from black poster board and tape it to your window facing outward. From inside, it’s a shadow against the glass. From the street, it’s a person standing in your lit window.
One 50-cent sheet decorates for two audiences at once, which is unusual value for a piece of paper.
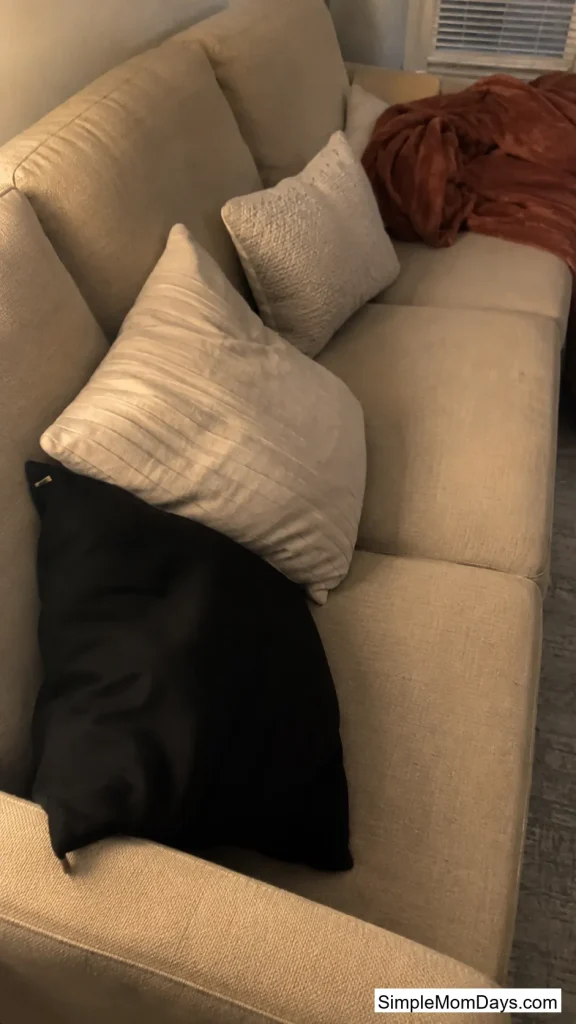
22. Swap One Throw Pillow Cover, Not Six
Buy a single black or rust-colored pillow cover and slide it over a cushion you already have. One dark pillow in a light-colored group is a color anchor; the whole couch matching in orange is a costume the room is wearing.
Covers store flat in a drawer, unlike whole pillows, which is the real argument for them if you’re short on closet space.
Pull It Together the Night Before
Once the pieces are in place, one last step keeps it from looking like a pile of separate crafts.
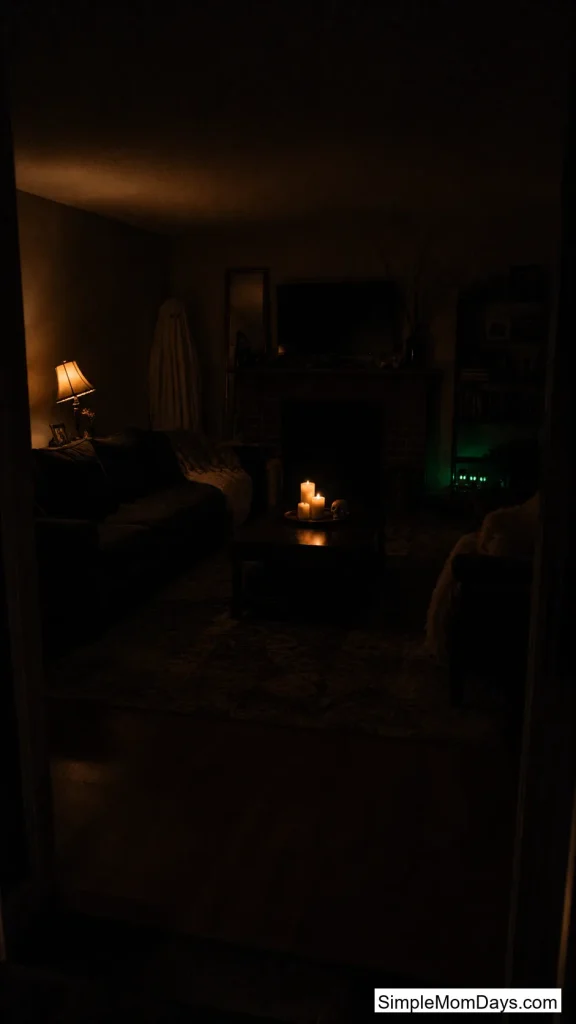
23. Kill the Overhead Light and Pick Three Zones
Turn off your ceiling fixture completely. Then light exactly three places: one lamp, one candle cluster, one glow source low to the ground. Everything between them stays dark.
The dark is doing the decorating. A fully lit room shows every seam of tape and every dollar-store price mark, while three pools of light in a dark room let people’s imaginations fill in the rest — and imaginations are free.
Test it at night before your guests come, not in daylight. You’ll almost always find one lamp too many.
Final Thoughts
If you only do three things: change the bulbs to amber, kill the overhead light, and put one lamp on the floor. That’s under $10 and about fifteen minutes, and it does more than a cart full of plastic skeletons.
Everything else on this list is a detail layered on top of that. Start with the light, and the room does most of the work for you.