
Your kid comes home with a signup sheet, and next to your name is a checkbox: bring treats for the class Halloween party. Before you grab whatever bag is closest at the store, it helps to know most schools now require anything sent in to be factory-sealed and store-bought. Open bins of loose candy and anything homemade are off the table at a lot of elementary schools these days.
That rule actually makes this easier, not harder. Once “homemade” is off the list, the job becomes picking candy that’s individually wrapped, splits cleanly across 20-30 bags, and doesn’t set off an allergy in a room where a couple of kids might be dealing with nut, dairy, or gluten issues.
Here are 25 ways to fill that bag, grouped by budget, by what’s actually allowed, and by how much time you’ve got left before the party.
Candy Mixes Built Around One Idea
A bag with one clear theme reads better than a random handful of loose candy. These five give every bag a reason for being.
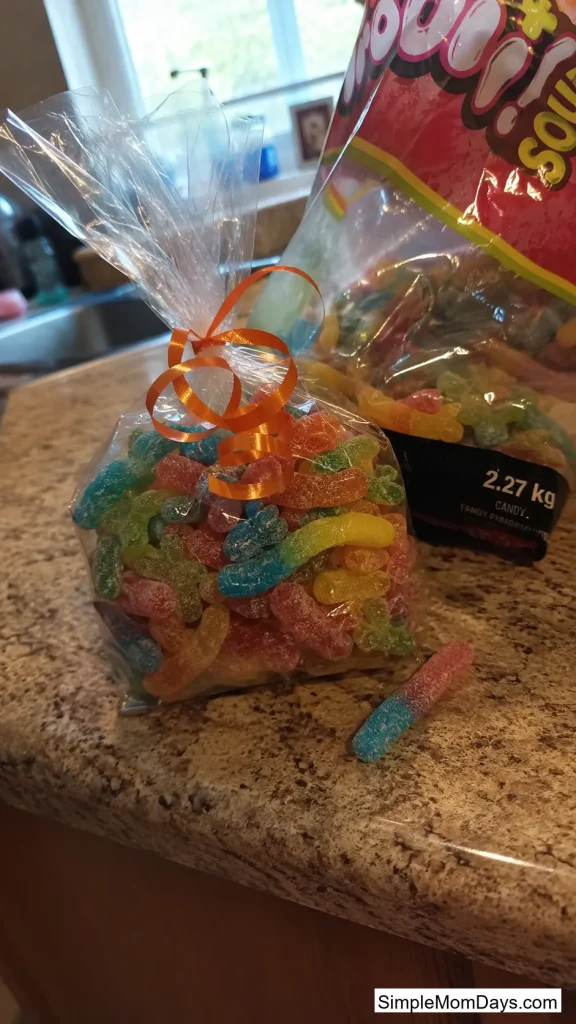
1. Sour Patch Express
Skip the mixed bag and build this one entirely around sour gummy candy — sour worms, sour gummy spiders, sour fruit slices. One flavor lane, no chocolate mixed in to melt against it.
Sour candy holds its shape in a warm classroom or a backpack left by a radiator, which chocolate never does. Kids who like sour tend to really like sour, so a themed bag lands better than one token piece buried in an assortment.
A five-pound bag of mixed sour gummies runs about $12-15 at most grocery stores and splits into roughly 25 half-ounce portions with room to spare.
2. Chocolate Lovers’ Stash
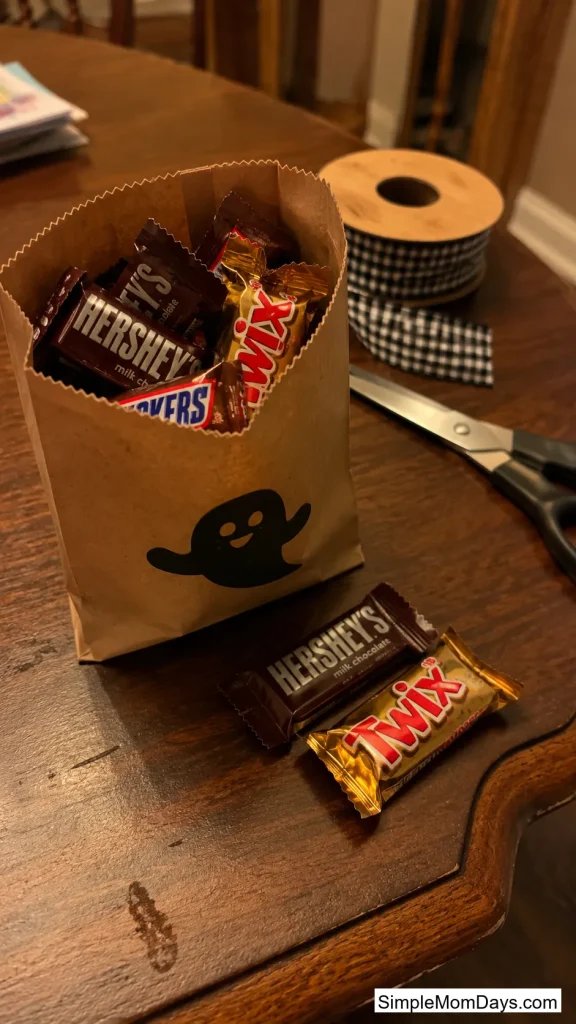
The flip side of the sour bag: fill it only with mini chocolate bars, mixed name brands, nothing else competing for attention.
Chocolate does melt, but factory-sealed minis are fine for a few hours at a party held indoors — it’s a car trunk on a warm day that causes trouble, not a classroom. A bag that’s clearly “the chocolate one” tends to feel like the good stuff, since variety packs mix in a few different brands instead of just one.
A standard 105-piece variety bag covers a class of 25 with several pieces left for the teacher’s desk.
3. Hard Candy That Survives All of Recess
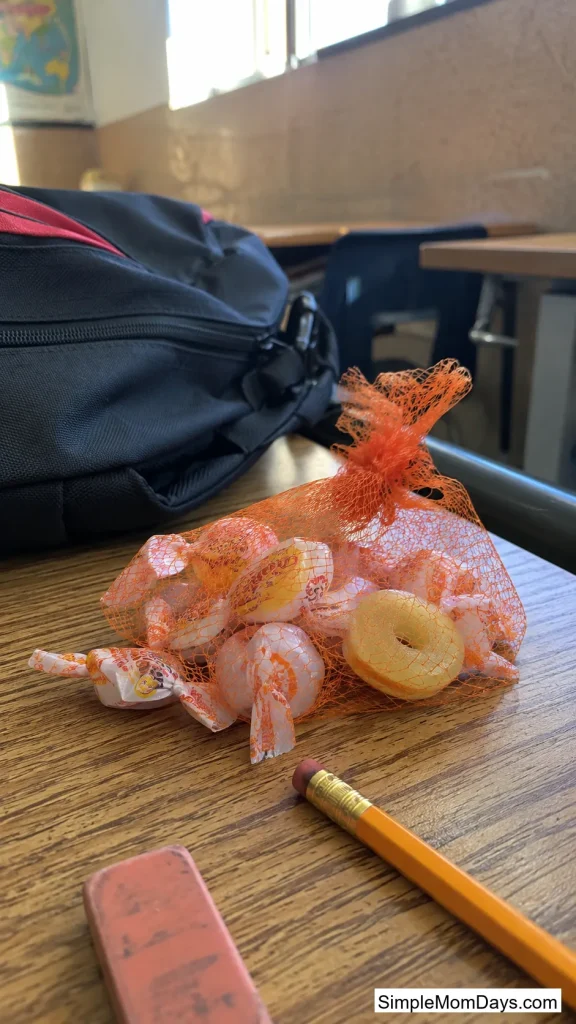
Individually wrapped hard candy — butterscotch discs, fruit-flavored hard candy, that kind of thing — holds up from a 9 a.m. party until a kid actually opens the bag after school.
Nothing melts, nothing sticks to the wrapper, and the ingredient list is usually short: sugar, corn syrup, flavoring. That’s often easier on allergy-conscious parents than a candy bar with a dozen ingredients.
Still worth a label check — some hard candy is processed in facilities that also handle tree nuts, so “simple ingredients” isn’t the same as “allergen-free.”
4. The Gummy Grab Bag
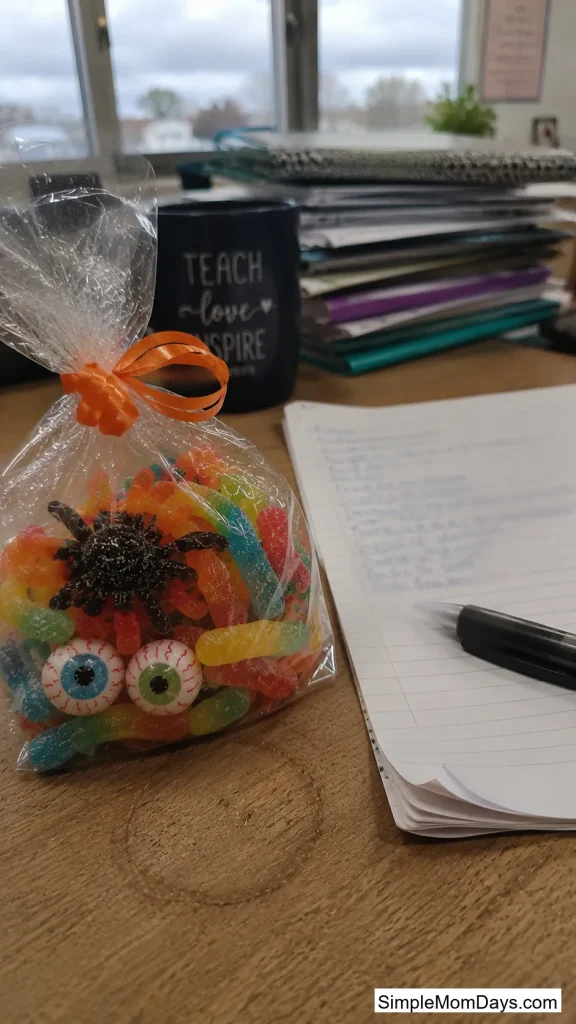
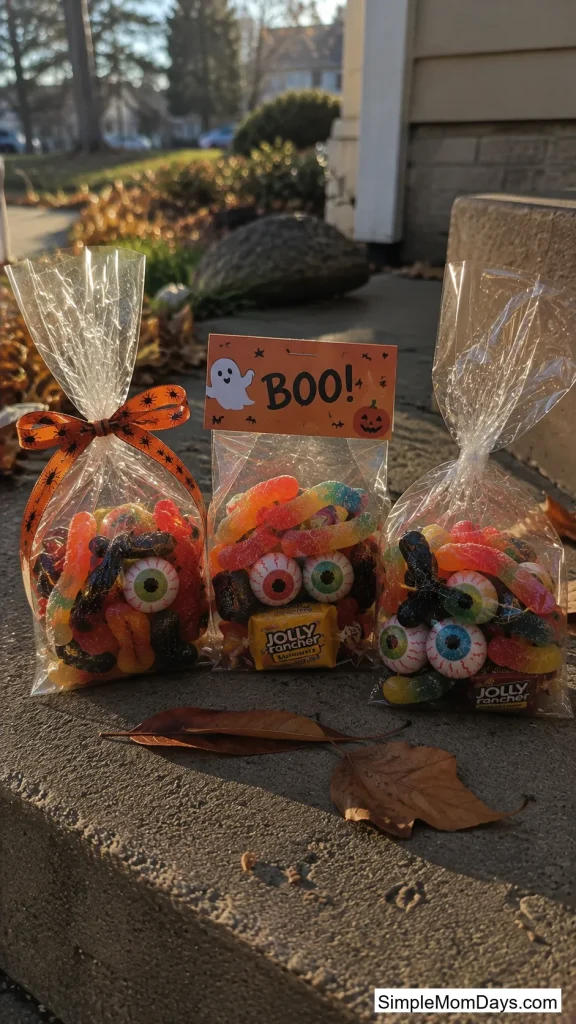
Instead of one gummy flavor, mix a few Halloween shapes — gummy spiders, candy eyeballs, gummy worms — so the bag feels a little like a small treasure hunt rather than five identical pieces.
Shape variety is also what photographs well for the “quick pic before drop-off” a lot of room parents end up posting, and kids genuinely like sorting through different shapes more than opening five of the same thing.
Buying the shapes separately in bulk bags and combining them at home usually costs less than a pre-mixed “Halloween shapes” bag with the same contents.

5. Retro Candy Throwback
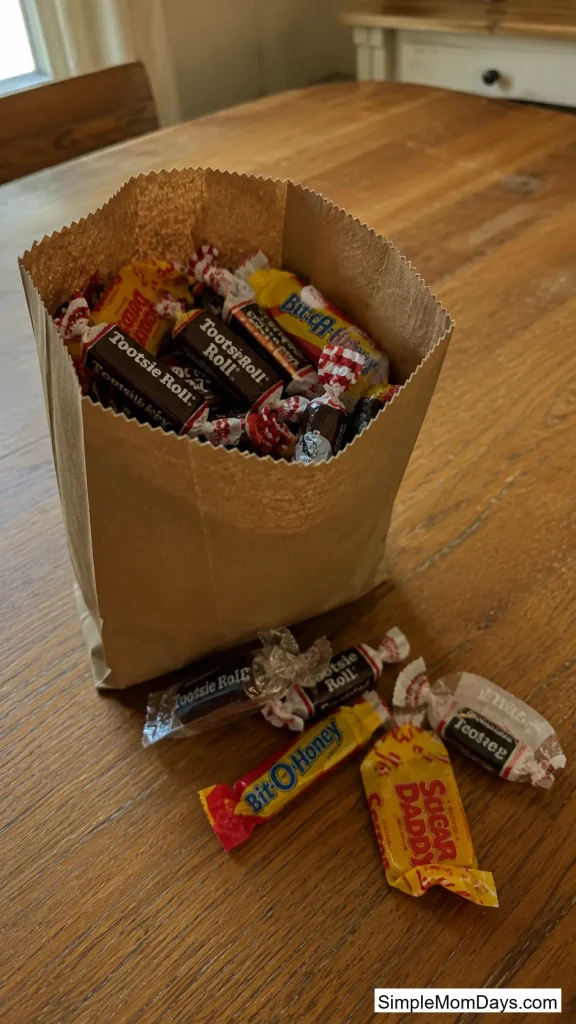
Fill the bag with candy that doesn’t usually show up in classroom bags anymore — Bit-O-Honey, Now and Later, Blow Pops, Tootsie Rolls, the stuff a lot of parents remember getting themselves as kids.
Most classroom bags run the same three or four chocolate brands. This one stands out for the opposite reason — it’s not what every other bag that day looks like — and older candy is frequently cheaper per piece than anything marketed as premium.
Bags That Work With a Tight Budget
Pre-made variety bags for 25+ kids add up fast. These four keep the per-bag cost down without it looking like you cut corners.
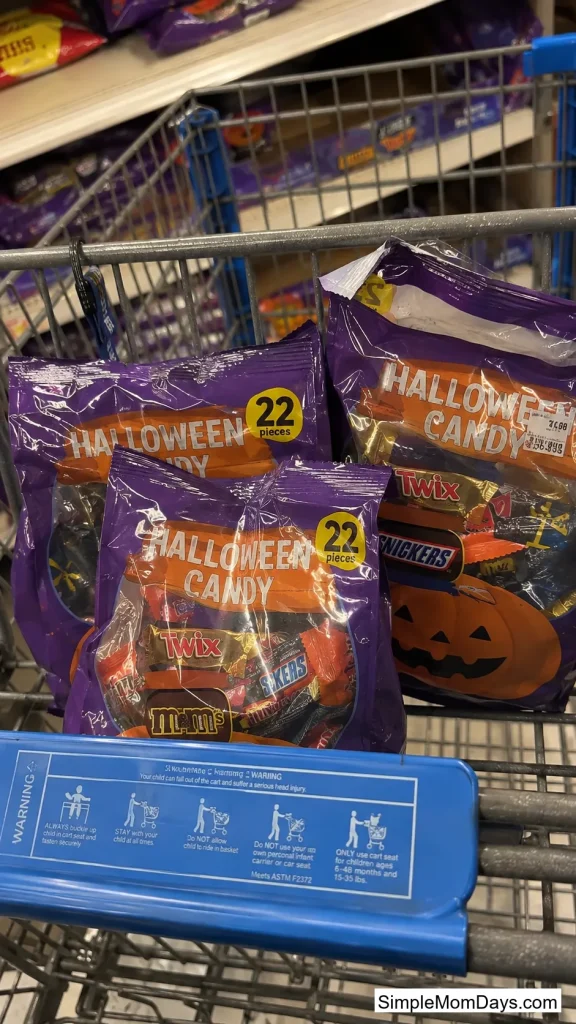
6. The Dollar Store Multi-Pack Bag
Dollar stores stock pre-filled Halloween candy multi-packs by early September, along with loose bulk bags priced per piece rather than per ounce.
This is genuinely the cheapest per-piece option most parents will find, and the seasonal aisle usually restocks weekly through October, so a return trip is worth it if the first pass looks picked over.
A 100-piece bulk bag typically runs $8-10, which covers a class of 25 with candy to spare for a second party or a sibling’s classroom.
7. Split-a-Warehouse-Box Bag
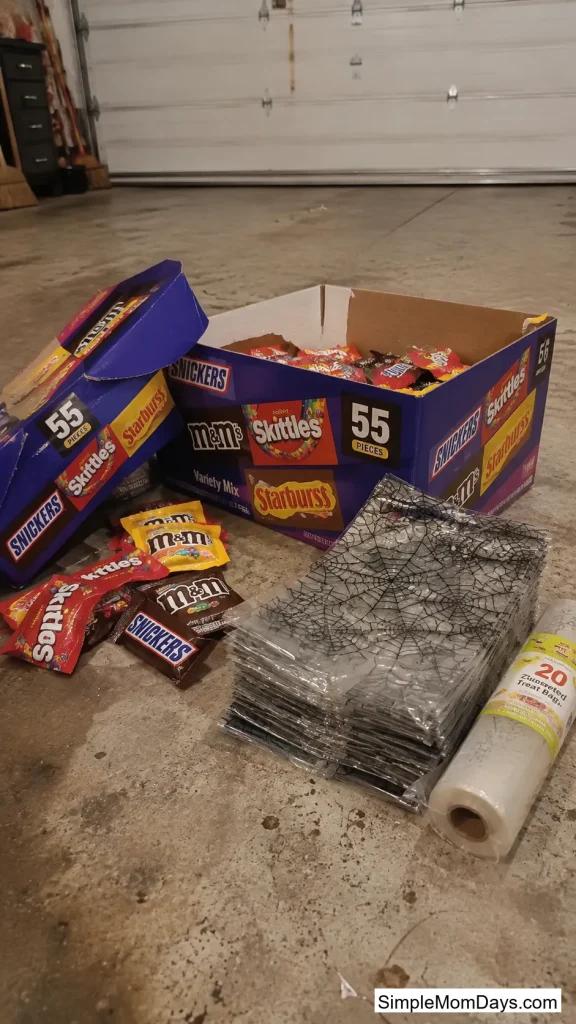
Buy one large variety box from a warehouse club and divide it into individual bags at home rather than buying a pre-made classroom pack.
Warehouse pricing drops the per-piece cost further than a dollar store multi-pack, which matters if you’re also covering trick-or-treating at home the same week and don’t want to buy candy twice.
A typical warehouse variety case runs $18-20 and covers both a classroom bag project and a home candy bowl.
8. Store-Brand Candy Bag
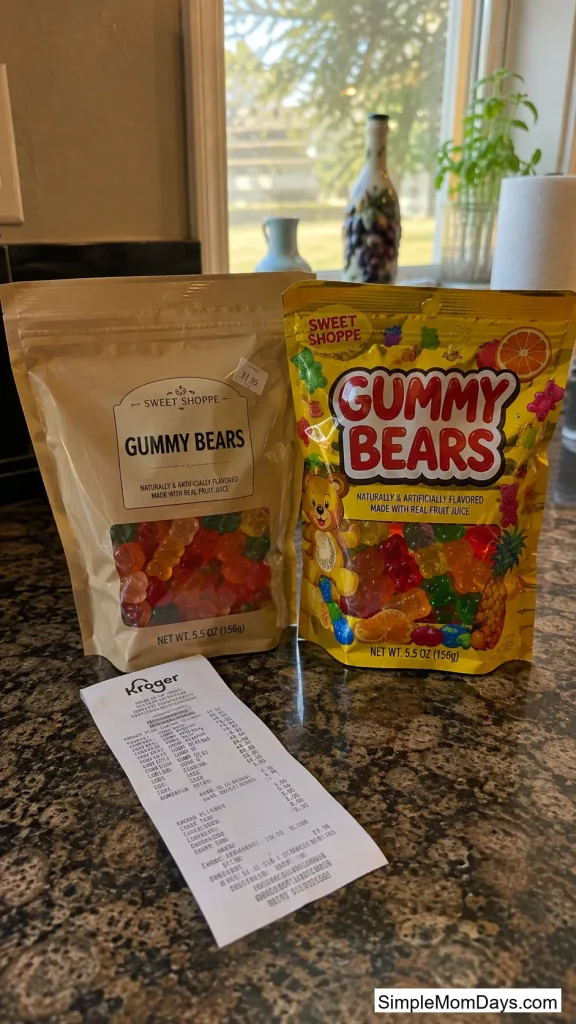
Store-brand gummy worms, candy corn, and chocolate coins sit right next to the name-brand versions at most grocery stores, usually 30-40% cheaper.
For a fun-size portion split across 25 bags, the taste difference most kids notice is close to none. The savings add up fast when you’re buying enough candy to fill an entire class list.
9. One Big Bag Split 25 Ways
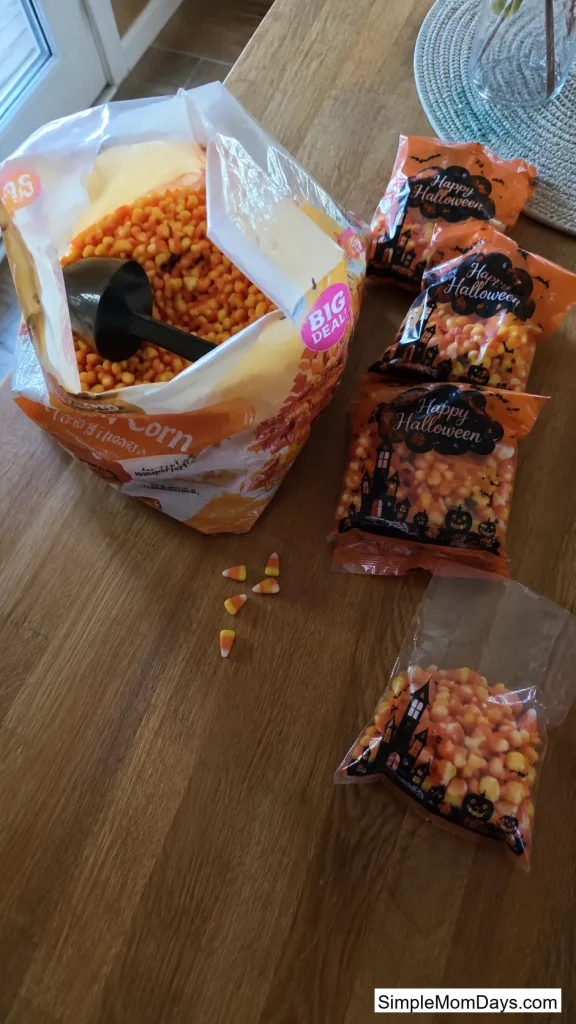
Instead of a pre-made variety pack, buy a single large bag of one candy — plain M&M’s or candy corn work well — and portion it out into snack bags yourself.
There’s no packaging markup on a single big bag the way there is on a “classroom variety pack,” and portioning takes about 15 minutes with a quarter-cup measuring scoop.
A quarter cup per bag for 25 kids usually clears one large bag with a bit left over for the person doing the scooping.
Bags That Respect Allergies and School Rules
Food allergies are common enough that most classrooms have at least a couple of kids affected. These four build that in from the start instead of hoping for the best.
10. The Label-Checked Bag
Build the bag entirely from candy you’ve actually read the ingredient label on, rather than assuming a familiar name means a familiar recipe.
Halloween-specific packaging sometimes runs on a different production line than the everyday version of the same candy, so the fun-size wrapper doesn’t always match the regular-size label word for word. Worth checking once per candy, not every single bag.
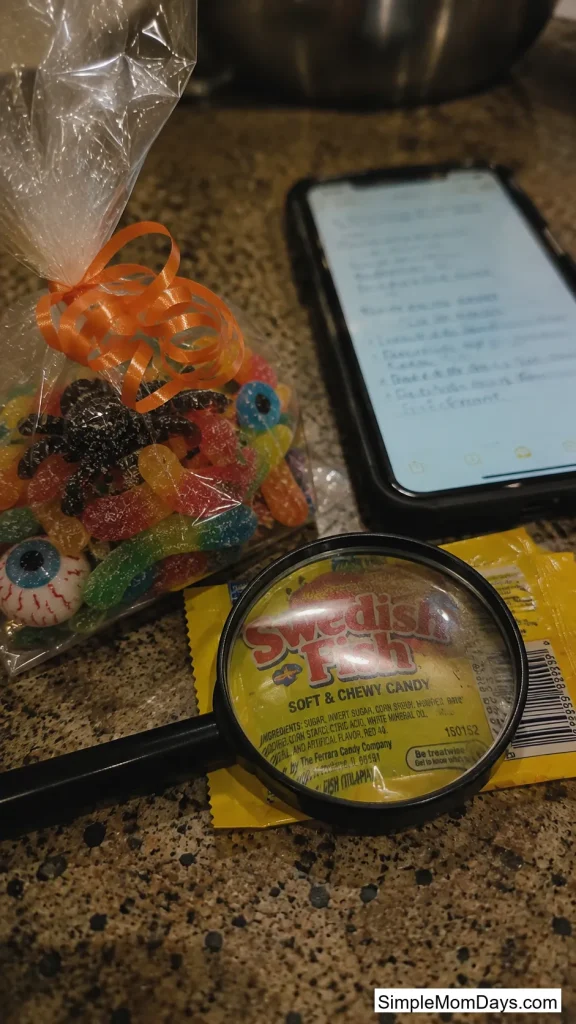
11. The Two-Item Swap Bag
Pack one piece of candy and one small non-food item — a mini notepad, a pencil, a sticker sheet — into the same bag, so a kid with a food allergy has something to hand off and something to keep.
It isn’t a candy-free bag, and it doesn’t require the teacher to track down a separate stash for one or two kids — everyone gets the same bag, and swapping is just between kids at their own desks.
Adding the second item usually costs $0.20-0.30 more per bag, which barely moves the total across a class of 25.

12. The Simple-Ingredient Bag
Fill the bag with candy that skips artificial dyes — several major candy makers now sell a dye-free version of a classic candy right next to the regular one on the shelf.
More parents ask about this than they did a few years back, and it’s an easy swap that doesn’t change price or shopping location, just which box you grab.
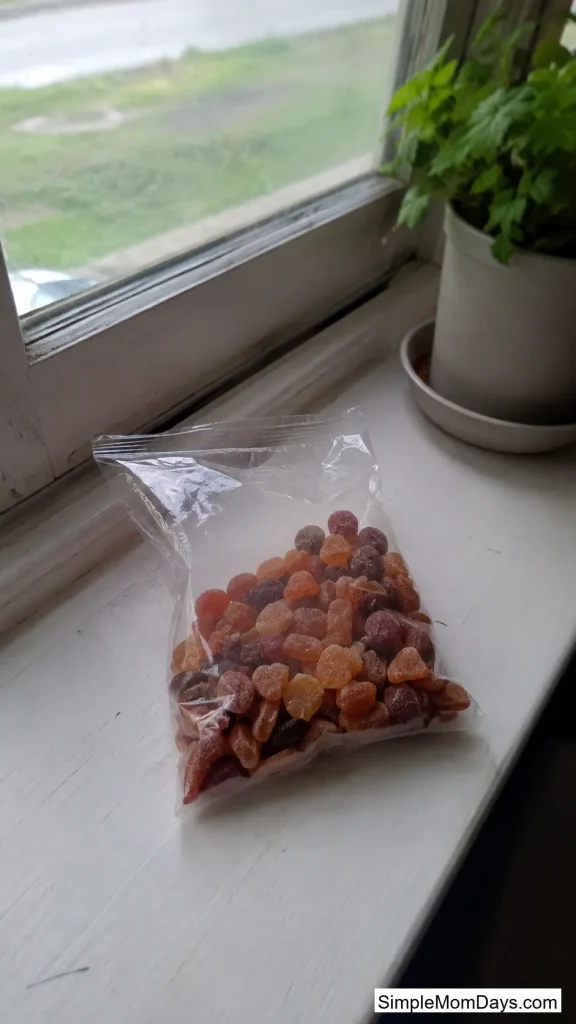
13. The Ask-First Bag
Before buying anything, email the teacher or room parent coordinator and ask what specific allergies are in that classroom this year.
A general “safe candy” list is never as accurate as the actual roster, and allergy lists shift every year with a new group of kids. Teachers usually have the list on hand already and can answer in one line.
Bags With Something New in Them This Year
The same handful of chocolate brands show up in classroom bags every October. These four break that pattern.
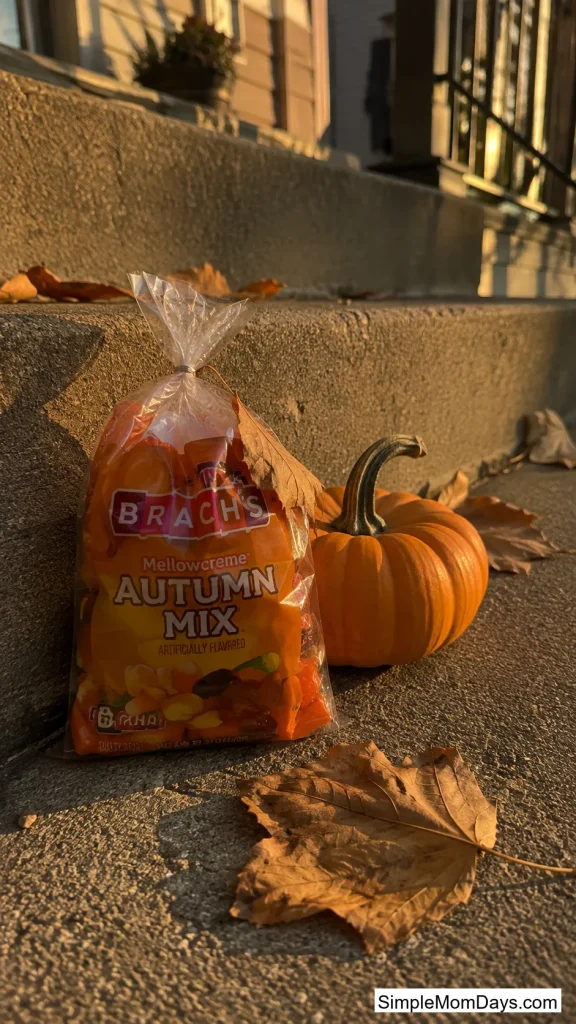
14. The Fall-Flavor Bag
Build the bag around seasonal flavor twists — pumpkin spice chocolate, caramel apple hard candy, apple-flavored gummies — instead of the regular year-round version of the same candy.
These flavors only show up on shelves for a few weeks around Halloween, so a bag built around them feels tied to the actual season rather than whatever happened to be on sale.
Buy these in the first couple weeks of October if possible — limited flavors tend to sell out before the standard Halloween stock does.
15. The Whatever’s-Trending Bag
Instead of guessing, check what candy kids are actually talking about this year — there’s usually one gummy or chocolate variant getting attention in kids’ social feeds that a lot of parents haven’t noticed yet.
A bag with “the one from that video” gets more excitement at drop-off than a generic assortment, even when the ingredients underneath are nothing new.

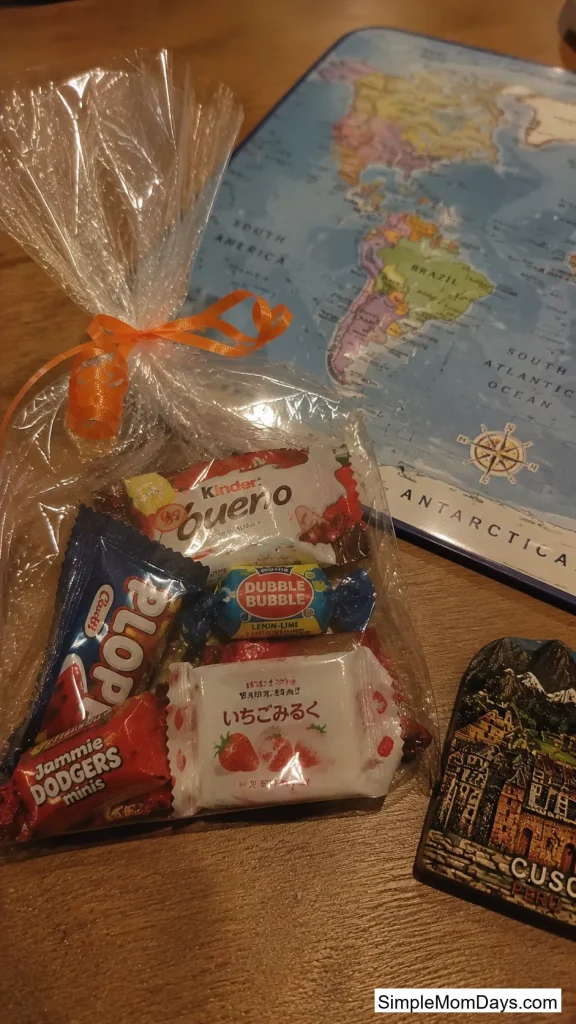
16. Candy From Around the World Bag
Build a few bags around candy that isn’t sold at the regular grocery store — a UK chocolate bar, a Japanese Kit Kat flavor, a Mexican tamarind candy — sourced from an international grocery aisle or specialty shop online.
This works best mixed into a handful of bags rather than the whole class, paired with something familiar so nothing sits unopened because a kid doesn’t recognize it.
Double-check the label language on imported candy before including it — allergen labeling rules aren’t identical everywhere, so a translated label matters more here than with domestic candy.
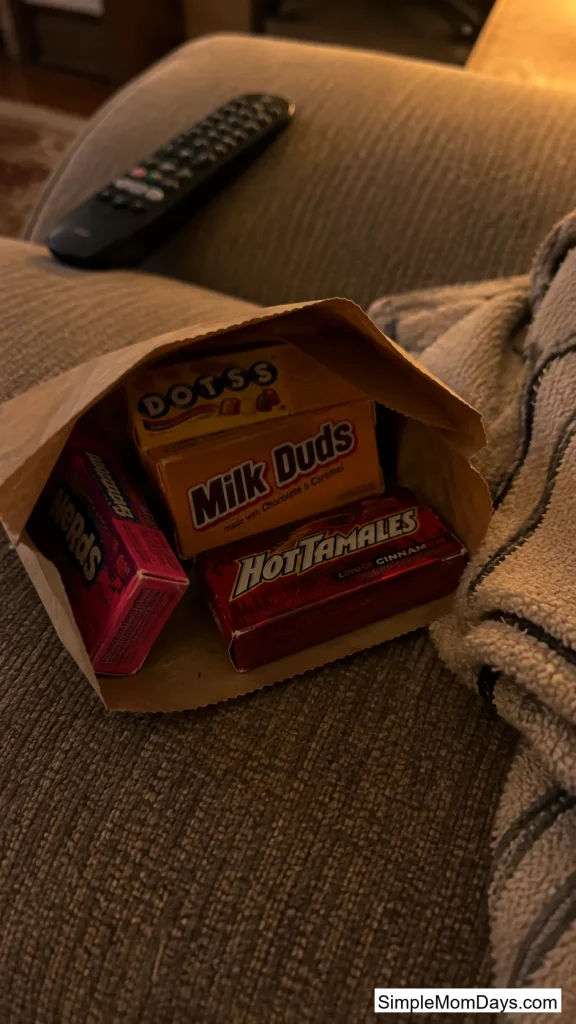
17. The Movie Theater Candy Bag
Fill the bag with mini versions of movie-theater box candy — think small boxes in the style of Milk Duds or Junior Mints — instead of the usual snack-size chocolate bar.
The box format alone makes it stand out from every other bag in the room that day, and the mini size is sized right for a classroom portion instead of an entire movie-sized box.
Presentation Ideas That Don’t Break Any Rules
Since the candy itself has to stay factory-sealed, the creative part has to happen on the outside of the bag instead.
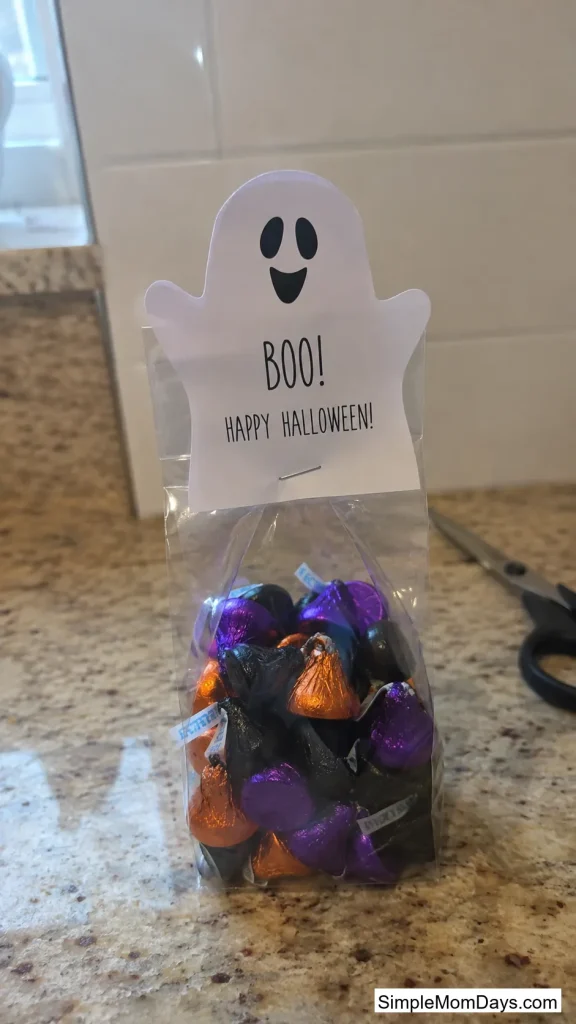
18. The Printable Topper Bag
Fold a clear cellophane bag of sealed candy over at the top and staple it to a printed paper topper — a small ghost, cat, or pumpkin cutout — instead of anything homemade or edible.
This gets the “looks thoughtful” effect without touching the food-safety rule, since nothing about the topper is edible or handmade food — it’s just decoration on packaging.
Free printable topper templates print 6-8 to a page, so one page usually covers most of a class list.
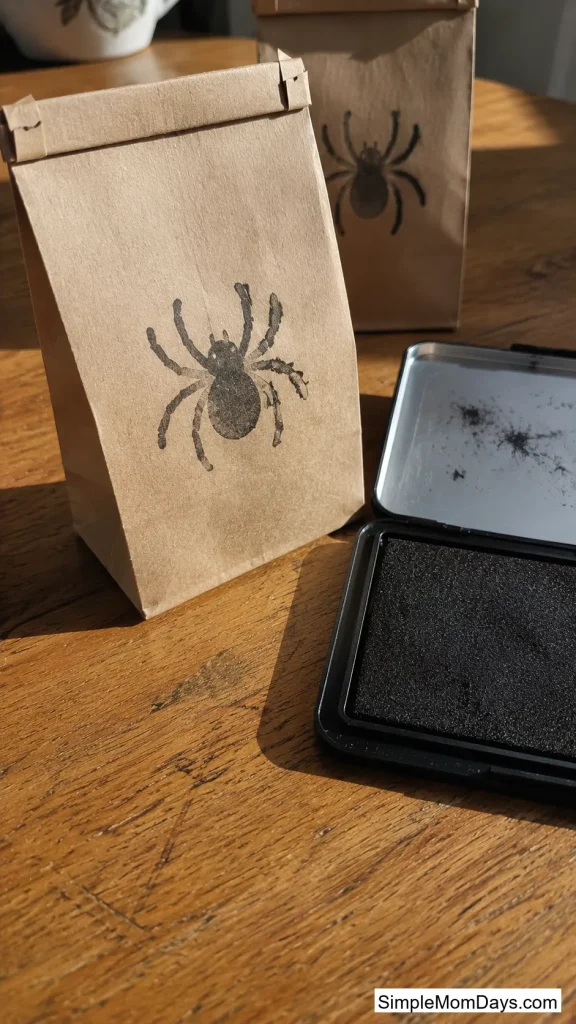
19. The Stamped Kraft Bag
Grab small kraft paper bags, a rubber stamp — a spider, a bat, a pumpkin — and an ink pad, then stamp the outside before dropping in sealed candy.
Once the stamp is out, each bag takes about ten seconds, which turns 25 bags into a ten-minute project instead of an hour with scissors and glue.
20. The Clear-Bag Face Bag
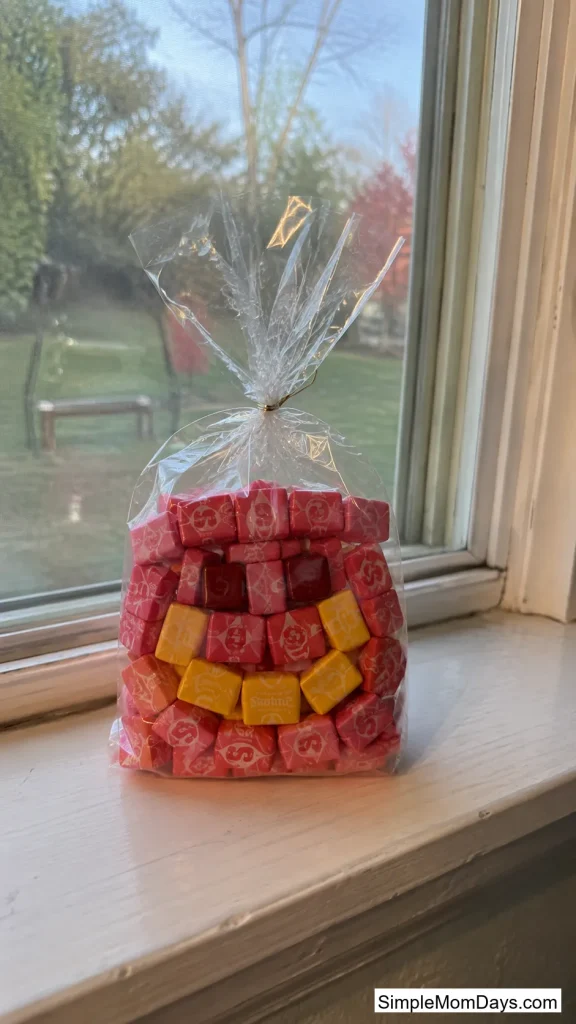
Arrange the individually wrapped candy inside a clear bag so the colors and shapes form a simple face or pattern visible through the plastic, rather than decorating the outside at all.
Kids notice this at a glance without any actual crafting on your end — it’s really just the order the candy goes in.
21. The Mini Bucket Bag
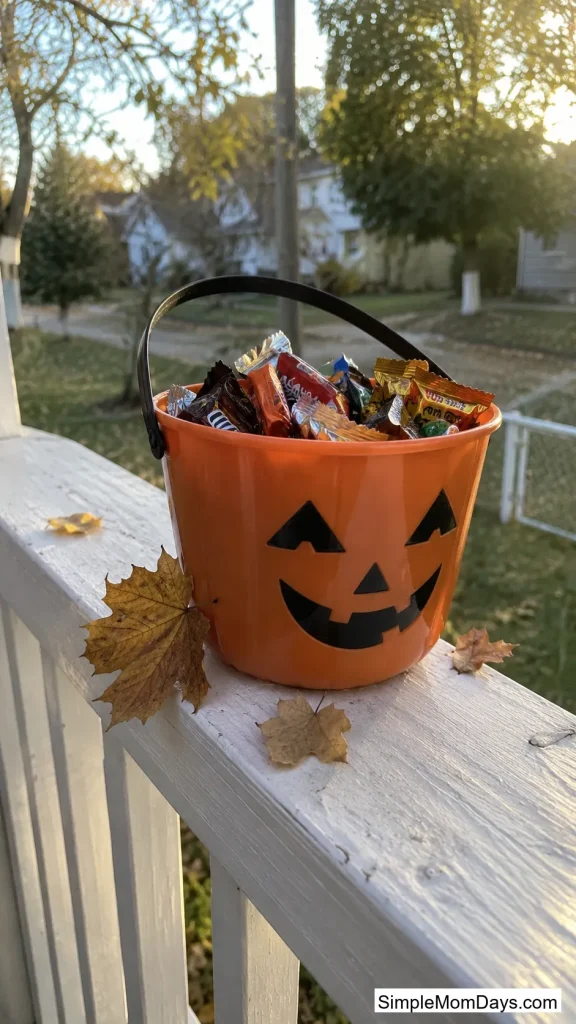
Fill small plastic Halloween buckets — a few inches tall, usually sold in packs at dollar and party stores — with candy instead of using a bag at all.
A bucket tends to get kept as a small pencil cup or desk organizer past Halloween instead of being tossed the same day, so it reads as more of a keepsake than the candy alone would.
These run about $1 each in multi-packs. Check with the teacher first — some schools allow sealed candy in a bag but treat a plastic container as a separate “prize” item under a different rule.
22. The Personalized Tag Bag
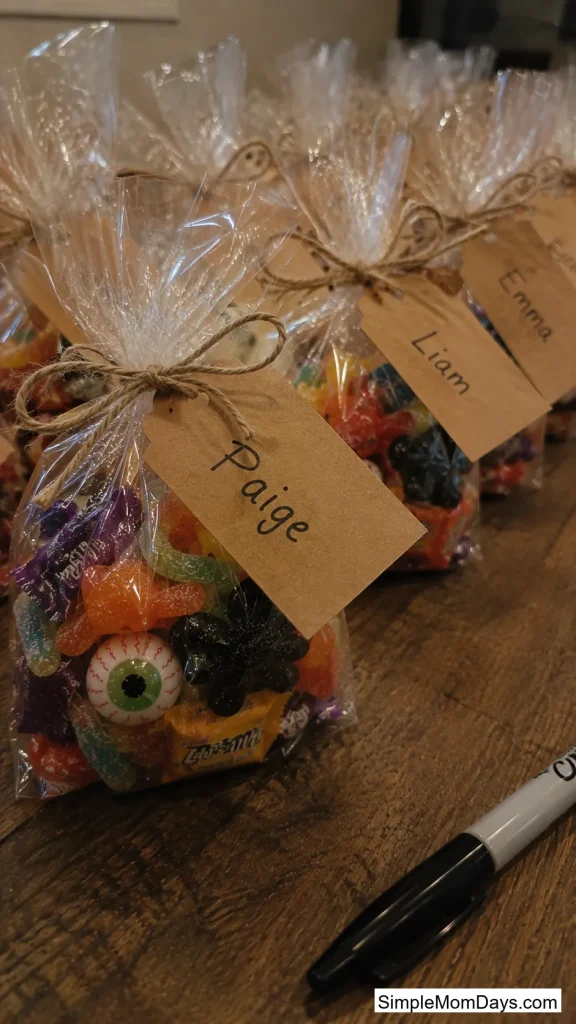
Print a single tag with each kid’s name and tie or tape it to an otherwise identical bag, so all 25 bags hold the same candy and differ only by name.
It reads as personalized to the kid receiving it without changing what you shop for or how much you spend — only the last five minutes of assembly look any different.
Ideas for Building 25+ Bags Without Losing an Evening
Filling that many bags is its own project. These three are about the process, not the candy.
23. The Assembly-Line Bag
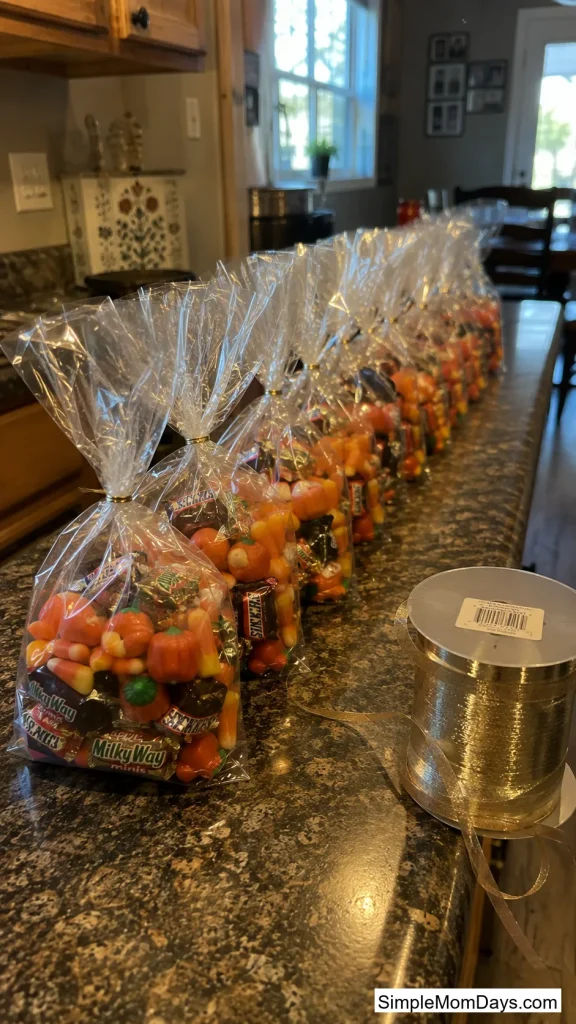
Line up all 25 open bags and add one type of candy across every bag at once, then move to the next type, instead of filling one bag completely before starting the next.
This cuts assembly time roughly in half compared to filling bags one at a time, since your hands stay in one motion instead of restarting from scratch 25 times.
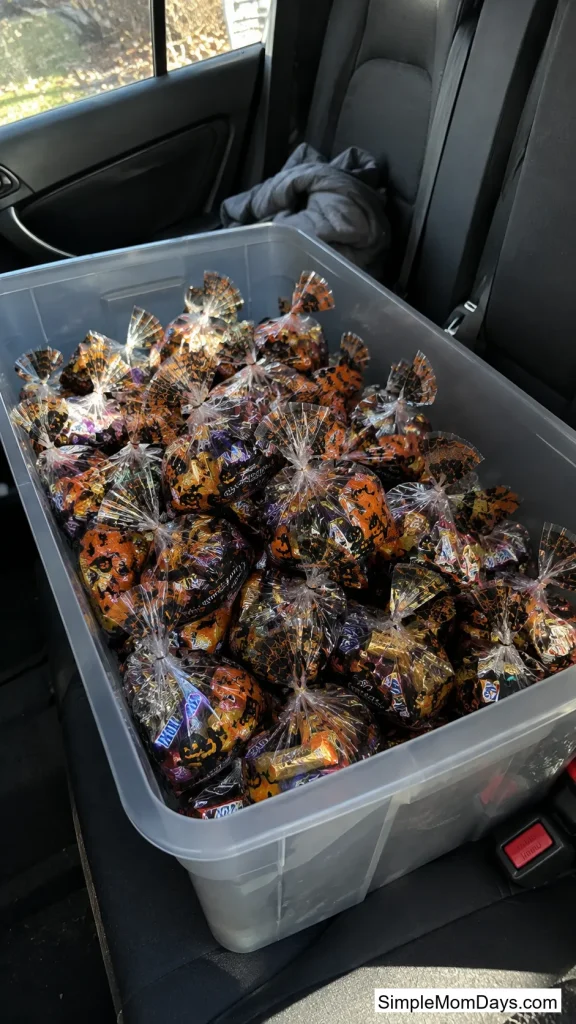
24. The Grab-and-Go Bin Bag
Drop all the finished, unnamed bags into one bin and let the teacher hand them out during the party, instead of matching bags to names at drop-off.
This works well if you can’t be at the party in person — there’s no name-matching step for anyone to get wrong, and the teacher just grabs one bag per kid as they go.
25. The Split-the-List Bag
Coordinate with two or three other parents in the class so no single person is buying and filling all 25 bags alone — one person handles the candy, another the bags, a third the labels or a non-food add-in.
Splitting the job three ways usually stretches the budget further too, since three people each buying in smaller amounts often beats one person grabbing everything last-minute at full price.
This works best coordinated over a class group chat two to three weeks before the party, not the week of.
Final Thoughts
Twenty-five bags sounds like a lot until you break it into a plan: pick a theme or two from the candy mixes, keep the budget ideas in your back pocket if the class list is bigger than expected, and run any allergy questions past the teacher before you shop rather than after. The bag itself doesn’t need to be complicated to land well on party day.