


Every Halloween craft roundup online seems to be aimed at a six-year-old with a glue stick. Pipe cleaner spiders, paper plate pumpkins, googly eyes on everything. Fine for the kids’ table, but if you actually want to sit down for an evening and make something that looks good on your own mantel, you need a different list.
These 23 projects are built for grown-up hands and grown-up living rooms. Some take twenty minutes with supplies from the dollar store. Others are a full crafternoon with a glass of cider and a friend. None of them involve construction paper bats.
Décor That Doesn’t Look Like a Craft Store Aisle
Start here if your goal is Halloween decor that could stay out through Thanksgiving without anyone raising an eyebrow.
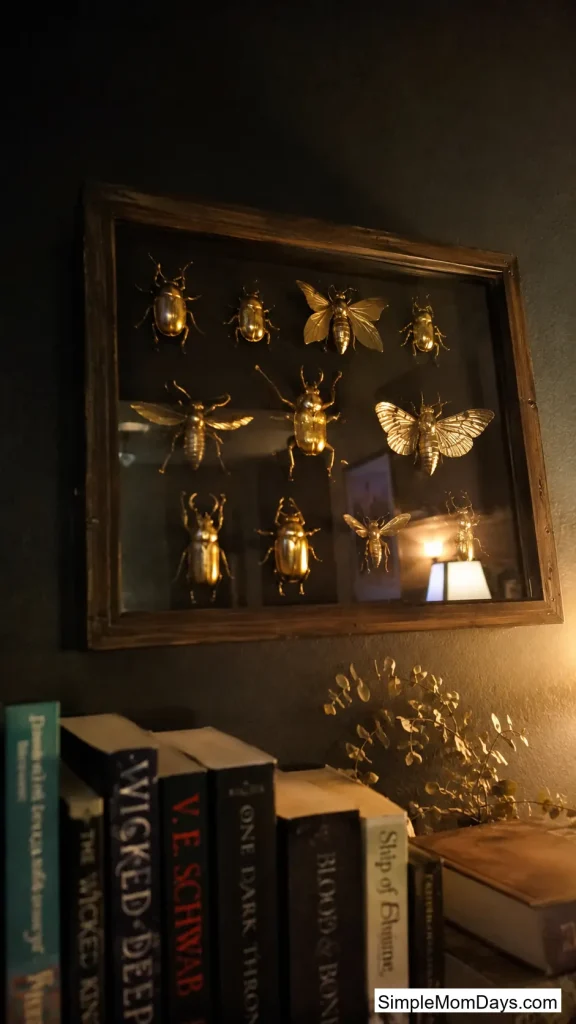
1. Faux Insect Specimen Frame
Buy a pack of plastic beetles and moths from the dollar store, spray-paint them gold or bronze, and arrange them in a shadow box frame like a Victorian naturalist’s collection. It reads as curious and a little eerie without a single pumpkin in sight.
This one works because it’s Halloween-adjacent instead of Halloween-obvious. It fits on a bookshelf or gallery wall year-round, which means the ten minutes you spend gluing bugs to foam board pays off well past October 31st.
A basic frame and a bag of bugs runs under $10 total, and the whole project takes about 30 minutes including dry time.
2. Iron Shackle Wreath
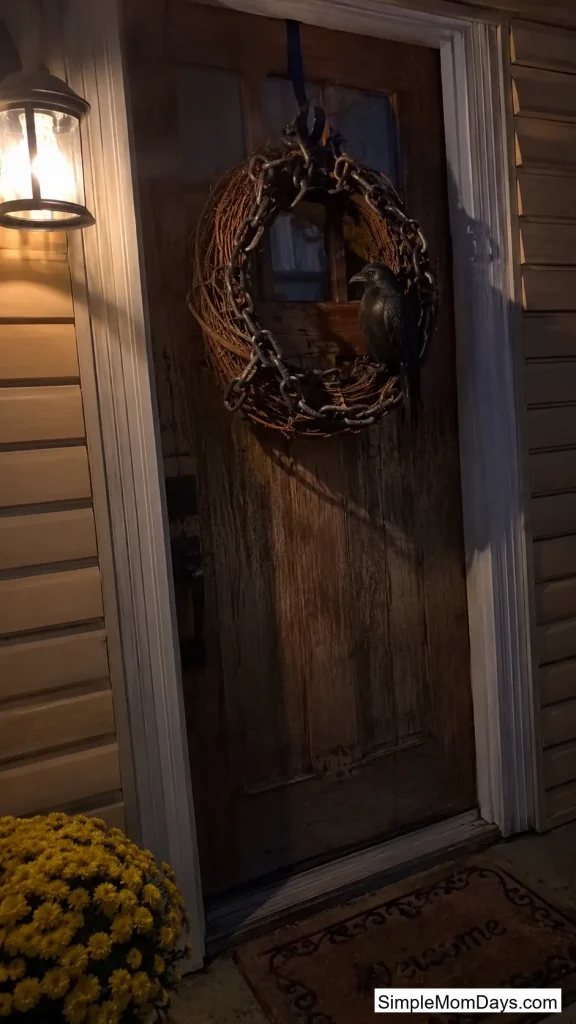
Skip the orange mesh. Wrap a plain grapevine wreath in real or faux iron chain from a hardware store or antique shop, then anchor a black faux crow to one side.
The weight and cold tone of the chain does something soft mesh can’t — it makes the wreath feel like it belongs on a door in an old gothic novel instead of a kindergarten classroom. Hang it somewhere the porch light hits it at an angle so the shadows do some of the work.
3. Disco Ball Cauldron
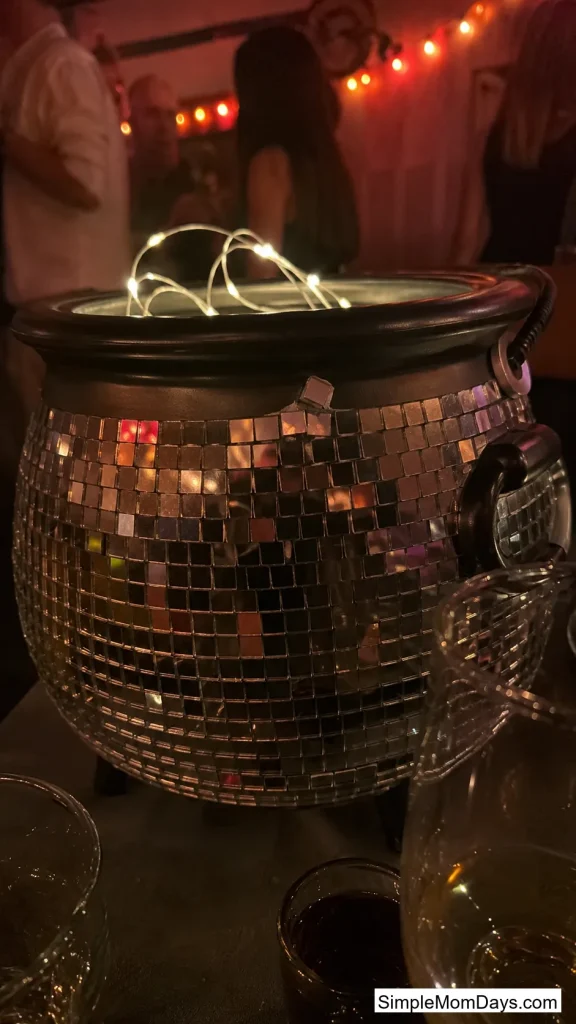
Cover a plastic cauldron or bucket in mirror mosaic tiles or a cut-up disco ball, then set a few string lights inside so it throws light around the room after dark.
It’s a strange pairing — witchy and glam at the same time — and that’s exactly why it stands out at a party where everyone else brought the same fog machine. Guests notice it before they notice anything else on the table.
Fill it with drinks on ice for a party, or leave it empty as a lit centerpiece. Either way, budget about an hour for tiling.
4. Stone-Finish Painted Pumpkins
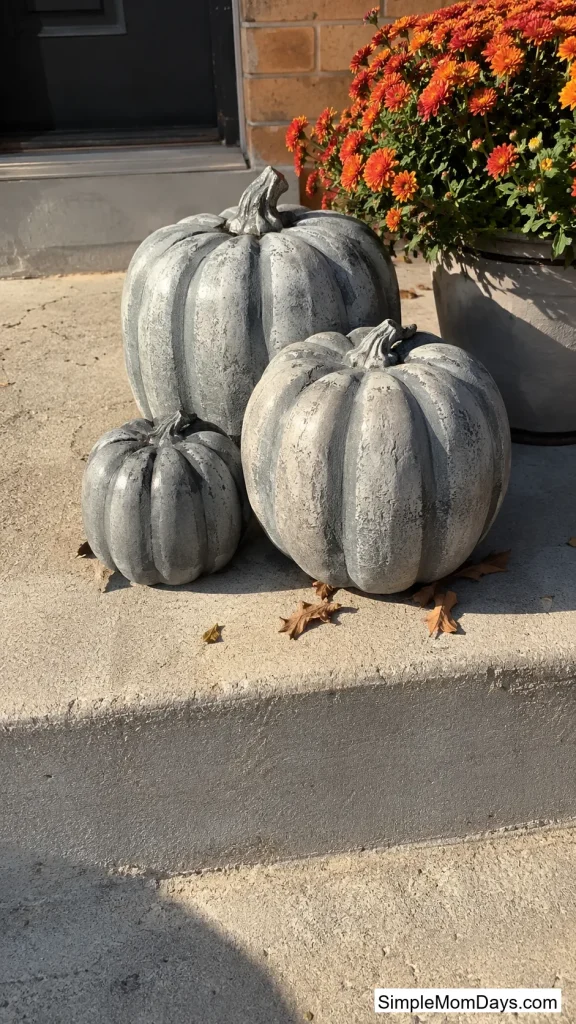
Mix gray craft paint with a little white and black, then dry-brush it over real or faux pumpkins in uneven layers so the surface looks like carved stone instead of plastic.
The technique costs almost nothing and takes maybe 15 minutes per pumpkin, but the finished look reads as an expensive concrete garden ornament. Cluster three or four different sizes together on a porch step for the strongest effect.
Tablescape and Entertaining Pieces
If you’re hosting anything this season, these give the table a reason to get photographed.
5. Blackout Wine Bottle Candlesticks
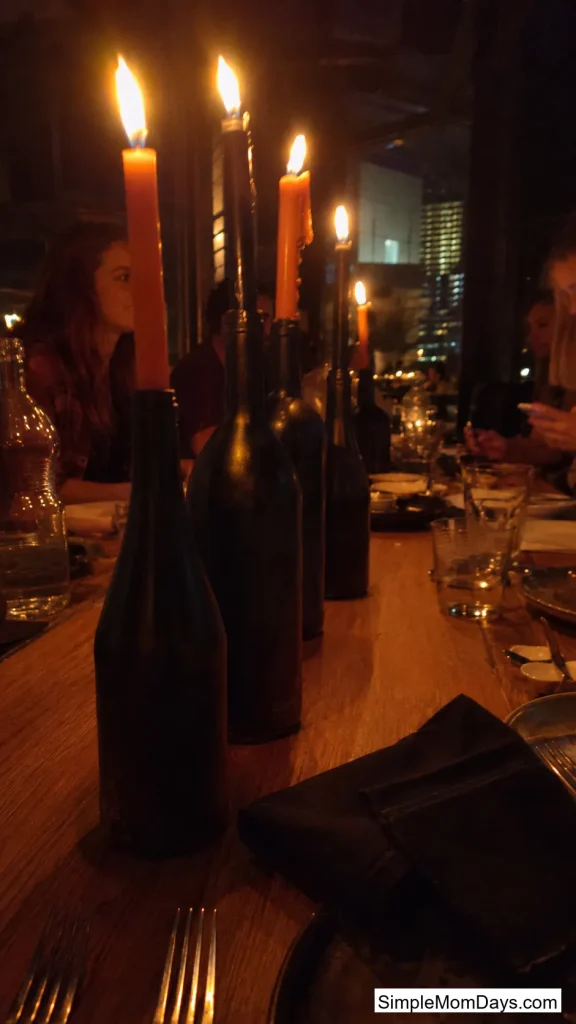
Paint empty wine bottles matte black, then set tall orange or black taper candles in the necks. Group three or five at different heights down the center of the table.
Candlelight through the dark glass gives off a moody, low-lit glow that overhead lighting can’t match, and it’s the kind of centerpiece guests assume you bought somewhere. Empty bottles are free if you already have them on hand, and a can of matte spray paint covers a dozen bottles.
6. Shimmering Potion Bottles
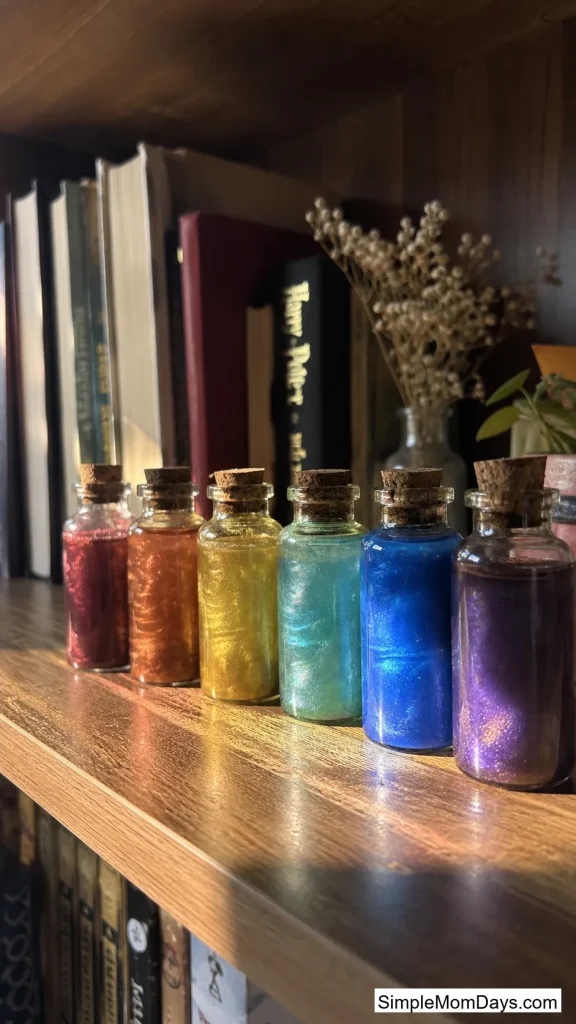
Fill small glass bottles with water, a few drops of food coloring, and a pinch of mica powder, then seal them with cork stoppers. Shake before setting them out so the powder swirls.
Line them up on a shelf or bar cart and the shimmer catches whatever light is nearby, giving the whole display a little movement instead of sitting flat like most jar crafts. A dozen mini bottles from a craft store costs around $8, and food coloring and mica powder are reusable across the whole batch.
7. Skeleton Hand Candy Bowl
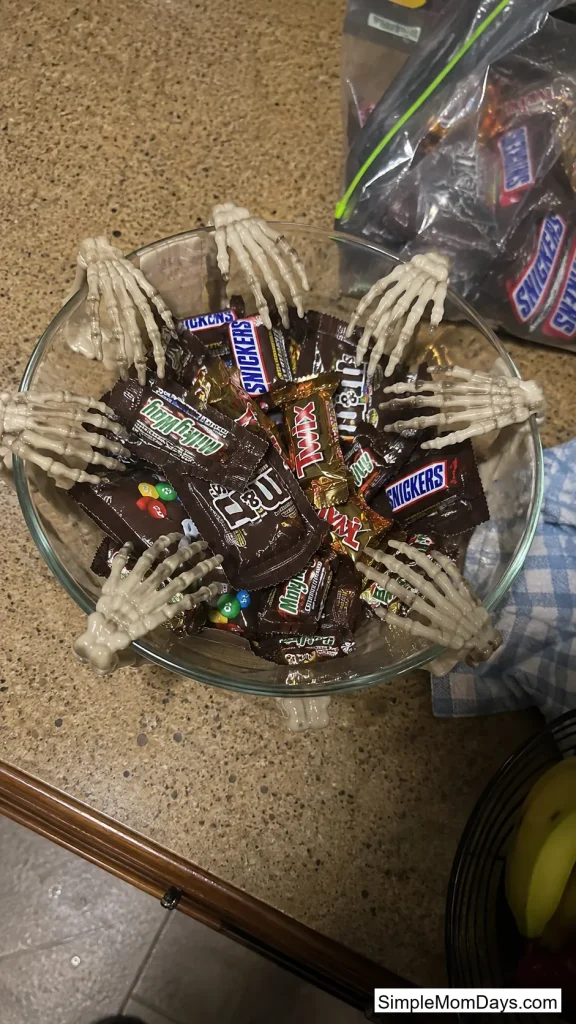
Hot glue a few plastic skeleton hands around the rim of a plain glass or ceramic bowl so they look like they’re reaching in for the candy.
It’s a small, one-note gag, but it lands every time someone reaches for a piece and has to move a bony finger out of the way first. Fill it with wrapped candy or popcorn for a party, or leave it on the counter as a conversation piece all month.
Nature and Botanical Crafts
For anyone who’d rather work with plants and organic textures than plastic and glitter.
8. Dried Flower Pumpkins
Hot glue dried flowers, seed pods, and eucalyptus stems onto a faux pumpkin in a loose, asymmetrical cluster, leaving some of the pumpkin’s surface visible between the botanicals.
Because dried florals hold their shape and color for months, this piece transitions straight into a fall centerpiece once Halloween is over — no need to swap decor twice in six weeks. Set a few different-sized pumpkins side by side so the arrangement has some height variation.
This is also a good one to make with a friend over a bundle of grocery-store dried flowers, since the mess is minimal and there’s no drying time to wait on.

9. Apple Head Witches
Peel and carve a simple face into an apple, then let it dry over one to two weeks until it shrivels into a wrinkled, witchy expression. Dress the shrunken head with fabric scraps and yarn hair, then mount it on a small stand or stick.
The slow transformation is half the appeal — you’re watching the apple age into character rather than crafting the wrinkles yourself. Start these at least two weeks before you want to display them, since the drying time is what makes the effect work.

10. Chia Sprout Skull Planter
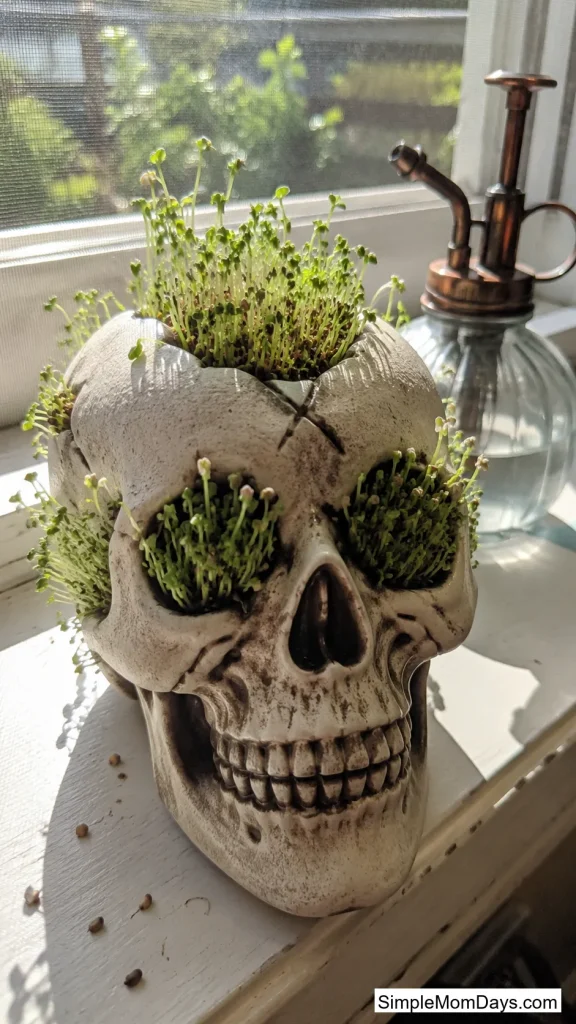
Coat a ceramic or plastic skull planter in a layer of damp chia seeds, mist it daily, and watch green sprouts grow out of the cracks and eye sockets over about a week.
It’s a living centerpiece that changes every day instead of sitting static on a shelf, and the contrast between the sprouts’ fresh green and the skull’s white is more striking than most static Halloween decor. Keep it somewhere with indirect light and it’ll stay sproutable for the whole month.
Wearable and Personal Touches
Small projects that go on you instead of your shelf.
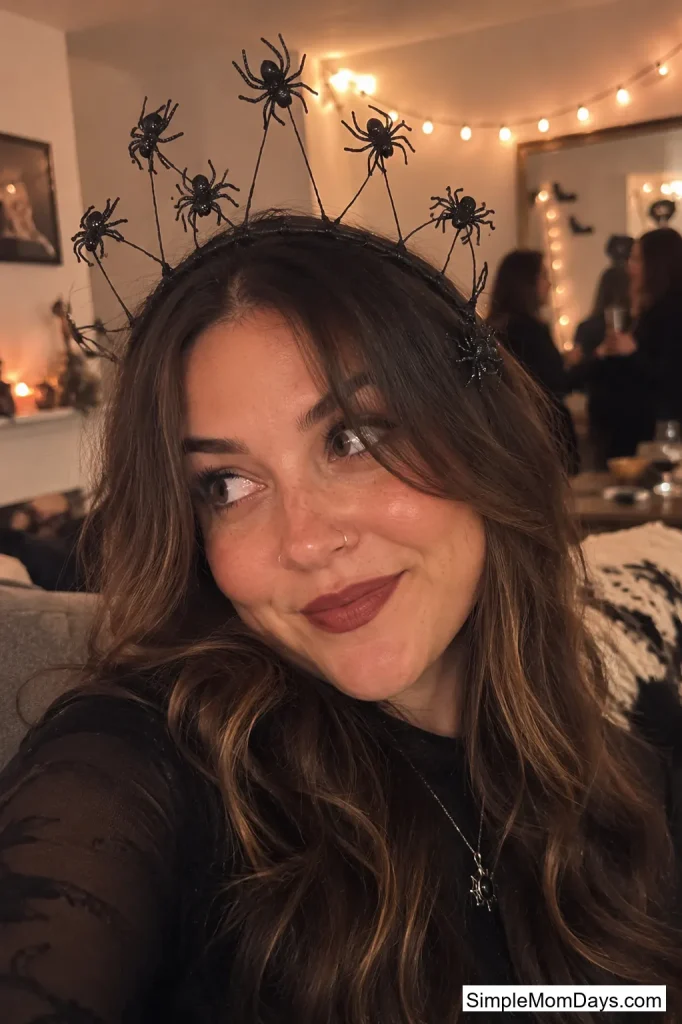
11. Spider Queen Wire Crown
Bend a length of craft wire into a crown shape, then wire on a handful of small glitter spiders from the dollar store at uneven intervals.
It costs about $5 in materials and takes 20 minutes, but it turns a plain black outfit into a full costume by itself. Wear it to a party or just around the house while you carve pumpkins — it’s silly enough that it doesn’t need an occasion.
12. Embroidered Ghost Hoop Art
Stitch a simple ghost shape onto scrap fabric stretched in an embroidery hoop, using a basic backstitch outline and a few French knots for the eyes.
If you’ve never embroidered before, a ghost is about as forgiving a shape as it gets — no sharp corners, no precise lines to mess up. It’s also a genuinely relaxing hour of hand work if you want a Halloween project that doesn’t involve a hot glue gun or a mess to clean up afterward.

13. Glitter Wine Glasses
Paint a thin band of glue around the base of a plain wine glass, roll it in fine black or orange glitter, and seal with a clear glitter-safe topcoat.
Make a set of four or six for game night, or gift a single glass with a bottle of sparkling cider. They’re dishwasher-unsafe but hand-wash easily, and one bottle of glitter covers a whole set.

Party and Game Night Projects
Built for the night itself, whether you’re hosting six people or sixty.
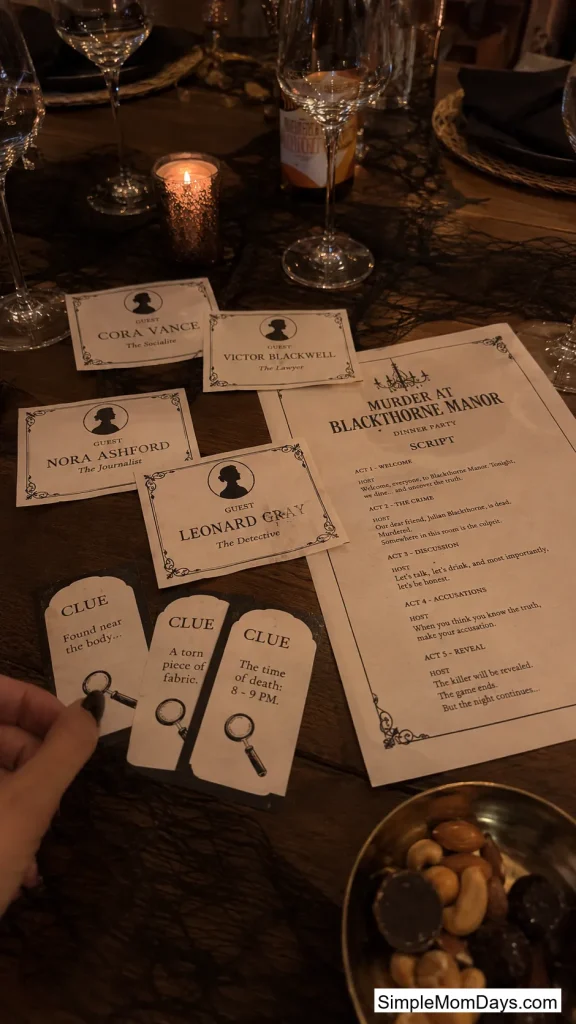
14. DIY Murder Mystery Kit
Write character cards, a victim, and a handful of clues around a Halloween setting — a haunted manor, a masquerade gone wrong — then print name tags and a short script for each guest to read from.
A homemade version costs nothing but time and lets you tailor the inside jokes to your actual friend group, which a boxed kit can’t do. Budget an evening to write it and expect the game itself to run two to three hours once everyone’s in character.
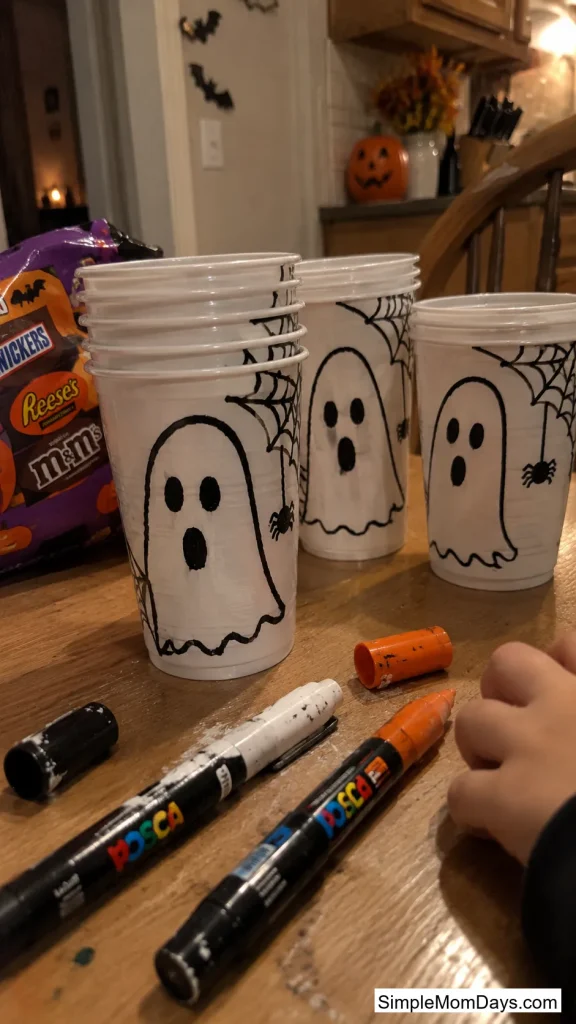
15. Hand-Painted Treat Cups
Use acrylic paint markers to draw simple faces, spiderwebs, or “boo” text directly onto plain plastic cups.
Set a stack of blank cups and markers out on the table before a party starts and it doubles as an activity while guests arrive, not just decor. Fill the finished cups with candy or a mocktail for a party favor guests actually keep.
16. Stenciled Welcome Doormat
Tape a Halloween-themed stencil onto a plain doormat and dab on black acrylic paint with a sponge brush, working in thin layers so the paint doesn’t bleed under the stencil edges.
A phrase like “Enter If You Dare” sets the tone for trick-or-treaters before they even ring the bell. A plain mat and a stencil together run under $15, and the paint dries within a few hours.

17. Tombstone Chair Covers
Cut armholes into plain pillowcases, then stencil “Here Lies Your Party Guest” or a similar epitaph across the front in black fabric paint.
Slip one over each dining chair before guests arrive and every seat becomes part of the decor instead of just furniture. Pillowcases wash and reuse next year, so the only annual cost is more paint if you want new phrases.

Upcycled and Budget Finds
For the crafter who’d rather transform something already in the house than start from a blank supply list.
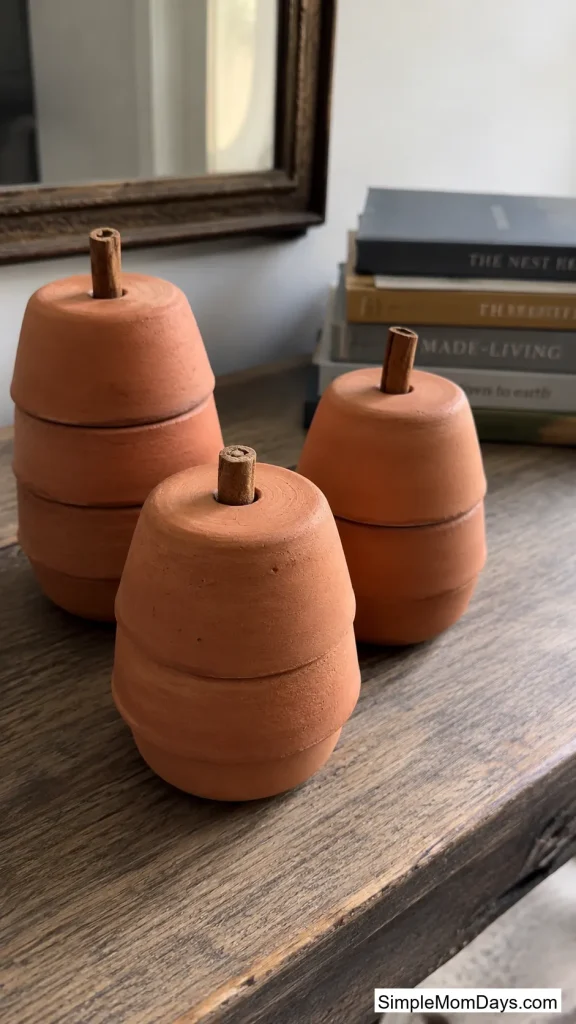
18. Terra Cotta Clay Pot Pumpkins
Stack a small terra cotta pot upside down on top of a saucer, glue a cinnamon stick or twig into the drainage hole as a stem, and leave the clay unpainted for a raw, vintage look.
The unfinished clay texture is the whole point here — it looks aged and collected rather than store-bought, which is rare for something built entirely from $2 planters. Group a few different pot sizes together for a fuller display.
19. Upcycled Thrift Store Art
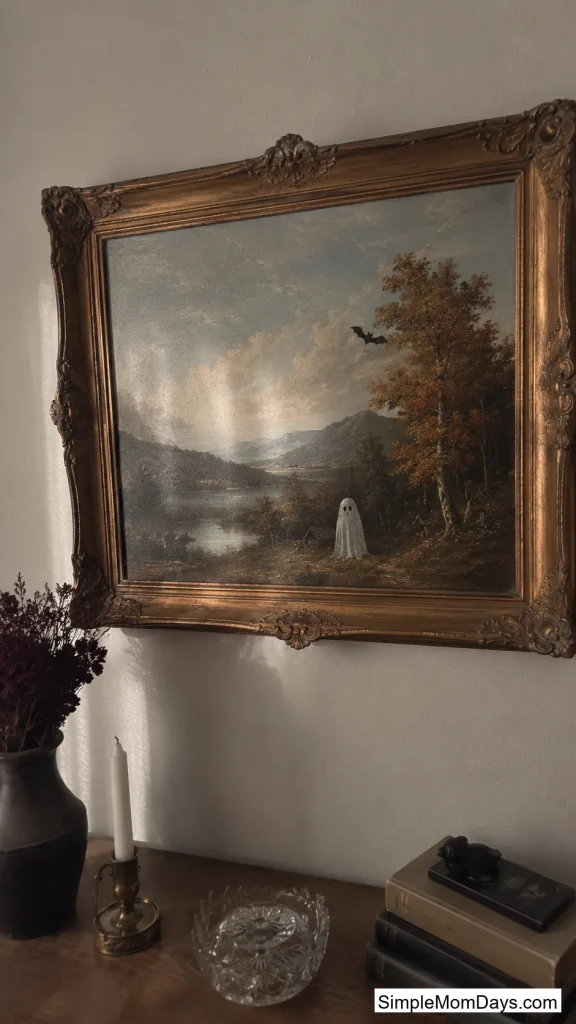
Find an oil-style landscape or portrait at a thrift store, then paint small ghosts, bats, or a lurking figure into the scene so it looks like the painting was always a little haunted.
Working on top of an existing painting gives you a head start on composition and color that a blank canvas doesn’t, and thrift frames are usually nicer than anything sold new for the same price. Look for pieces under $10 with muted, moody color palettes — they take the added details best.
20. Scrap Wood Ghosts
Cut leftover wood scraps into rounded ghost shapes, paint them white, and add a simple face with black paint once dry.
If you’ve got a pile of scrap lumber from another project sitting in the garage, this is the fastest way to turn it into something worth displaying — most people finish a set of five or six in under an hour. Stagger them by height along a mantel or entry table for a simple, uncluttered display.

Finishing Touches and Playful Extras
The last few, for wall space and for guests who like to laugh.
21. Vintage Image-Transfer Wood Plaque
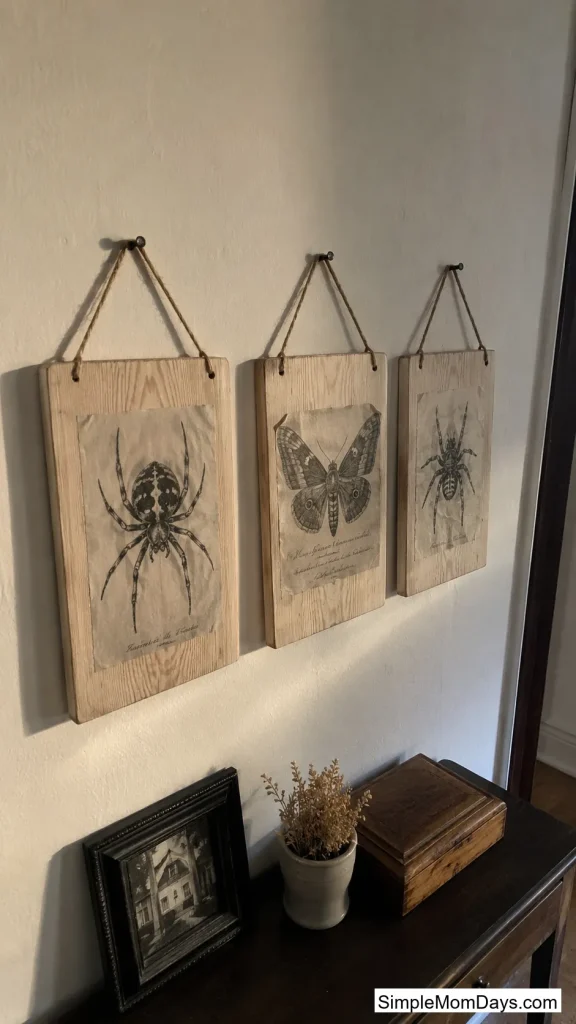
Print a vintage spider, moth, or bat illustration onto transfer paper, then iron or Mod Podge it onto an unfinished wood plaque.
The transfer softens the printed lines just enough that it reads as an old etching instead of a modern printout, which is the difference between looking curated and looking crafted. Hang three or four together for a small gallery moment on an entry wall.
22. Mini Haunted Mantel Village
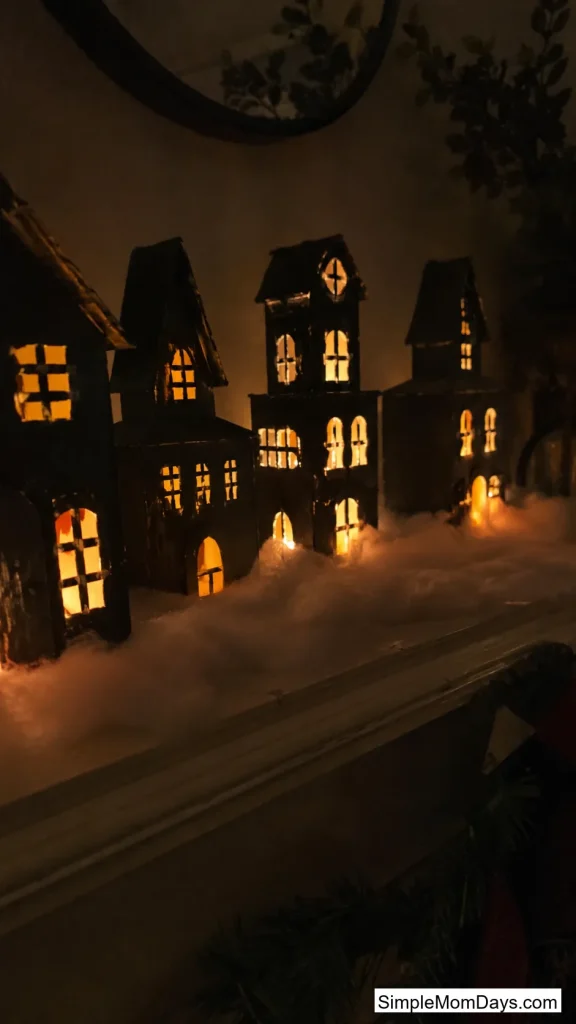
Build a tiny village out of cardboard houses, black paint, and a few battery tea lights glowing from the windows, then arrange it along a mantel or shelf with some fake fog or cotton batting underneath.
Scale is what sells this one — a village of two-inch houses reads as far more detailed than it actually is once the lights are on and the room goes dark. It’s also reusable as a winter village if you swap the paint palette after Halloween.
23. Broom-Riding Robot Vacuum
Zip-tie a small craft broom to the top of a robot vacuum so it appears to “fly” around the room as the vacuum runs its normal cleaning path.
It’s less a decoration and more a party bit — nobody expects a Roomba to double as a witch’s broomstick, and the reaction the first time it rolls past a guest is worth the two minutes it takes to rig up. Just make sure the broom is light enough that it doesn’t throw off the vacuum’s balance.

Final Thoughts
You don’t need all 23 to make the season feel different this year. Pick two or three that match how you actually spend an evening — a quiet hand-stitching project, a messy paint session, something to build with a friend over cider — and let the rest wait for next October.