A stack of paper plates costs less than a fancy pumpkin at the grocery store, and it goes a lot further. No cutting mats, no glue guns, no trip to the craft store for supplies you’ll use once and forget about. Just plates, paint, whatever’s in the junk drawer, and twenty minutes of quiet while your kids get their hands messy.
The tricky part is that most “paper plate Halloween craft” lists run the same fifteen ideas on repeat — black cat, ghost, witch, spider, done. Good crafts, but your kids have probably already made three of them at school. This list leans toward the ones that move, light up, or ask for a little more hands-on building, so there’s something here even for the kid who’s made every black cat plate in existence.
Classic Characters With a Twist
Familiar Halloween faces, minus the versions every classroom already covers.
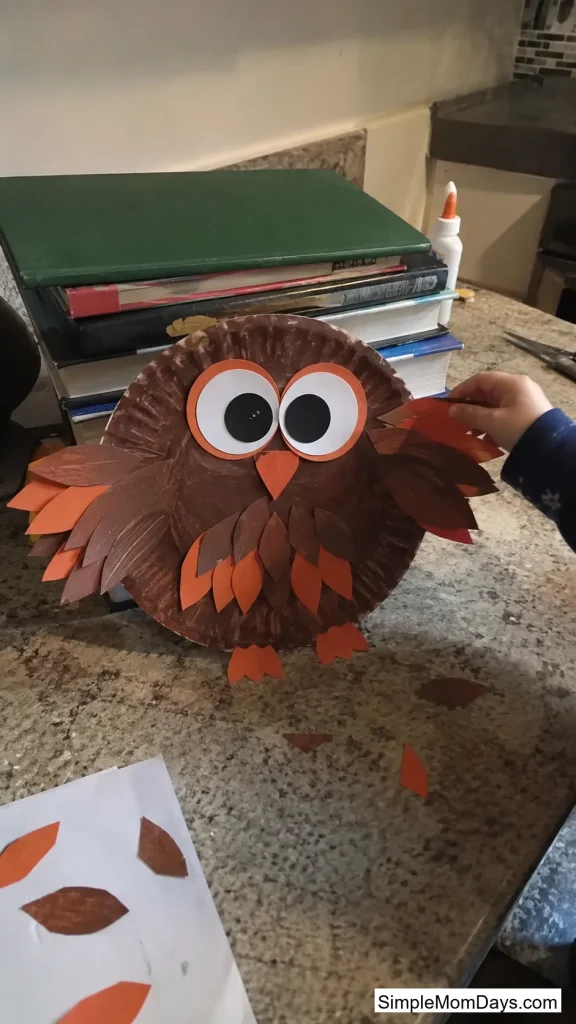
1. Not-So-Scary Paper Plate Owl
Fold a paper plate in half and you’ve already got the wings — cut along the fold line, leave a strip attached at the top, and fan the two halves out from the body plate underneath. Add triangle ears, big round eyes, and an orange beak, and the shape does most of the work before your kid even picks up a marker.
It’s a good pick for a fall craft table that isn’t fully committed to spooky yet, since owls read more “October evening” than “haunted house.” Feathers made from torn scraps of brown and orange paper glued onto the wings add texture without needing scissors skills.
Best for ages 3 and up, and it hangs nicely from a bedroom window with a loop of string through the top.
2. Paper Plate Werewolf Mask
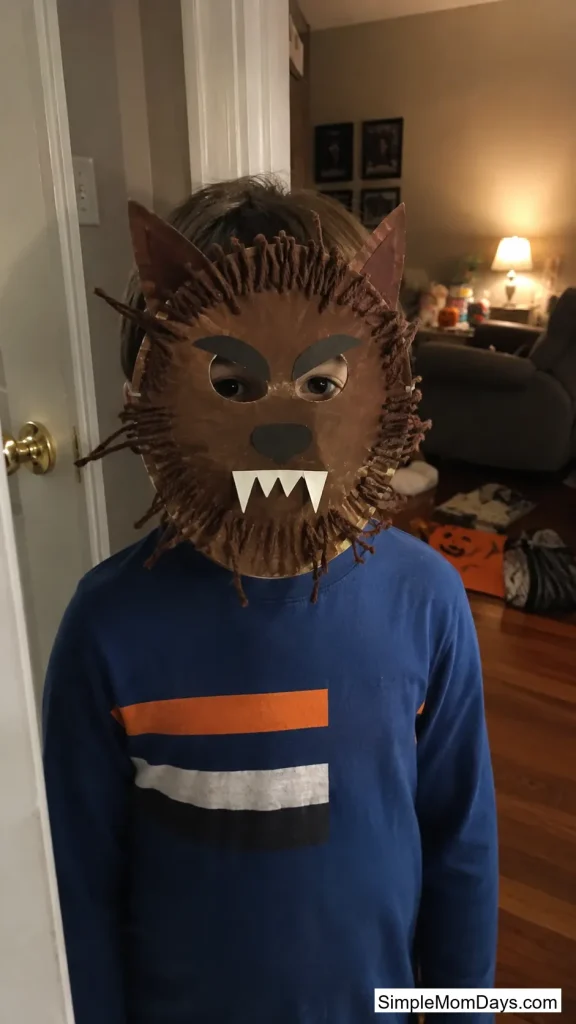
Cut two eye holes and a snout shape out of a brown or gray plate, then glue on torn strips of brown yarn or construction paper around the edges for fur. A triangle nose and a few white paper fangs finish the look, and the whole thing doubles as a costume piece, not just a wall decoration.
Kids who’ve made every ghost and witch plate at school tend to light up over this one because it’s a character they haven’t already tried five times. The fur-gluing step also keeps hands busy longer than a plain painted face would.
Punch a hole on each side and thread elastic through for a mask kids can actually wear trick-or-treating around the house.
3. Mad Scientist Monster Plate
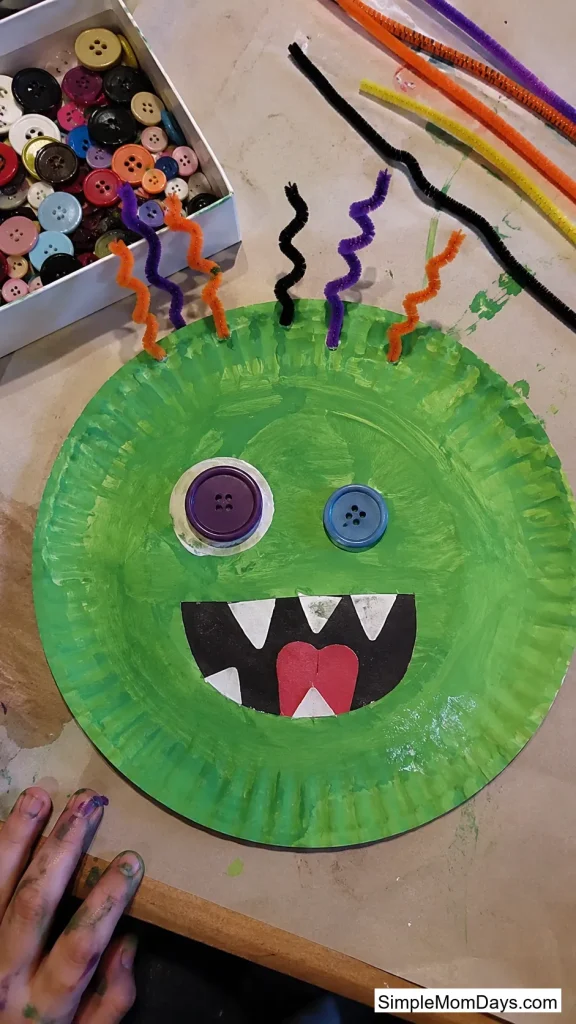
Paint a plate green, glue on mismatched button eyes at different heights, and add bolt shapes cut from gray paper poking out the sides. Instead of a standard stitched mouth, let your kid glue on bent pipe cleaners for wild, sticking-up hair — the messier, the better.
This one works because there’s no “right” way to build a mad scientist’s creation. Kids who get anxious about matching a template can go fully off-script, and a lopsided, asymmetrical monster face still looks great on the wall.
Set out extra buttons and pipe cleaners so siblings can each build a completely different monster from the same supply pile.
Crafts That Actually Move
These reward the extra five minutes of assembly with a craft kids will pick up and play with, not just hang up.
4. Flapping Bat Mobile
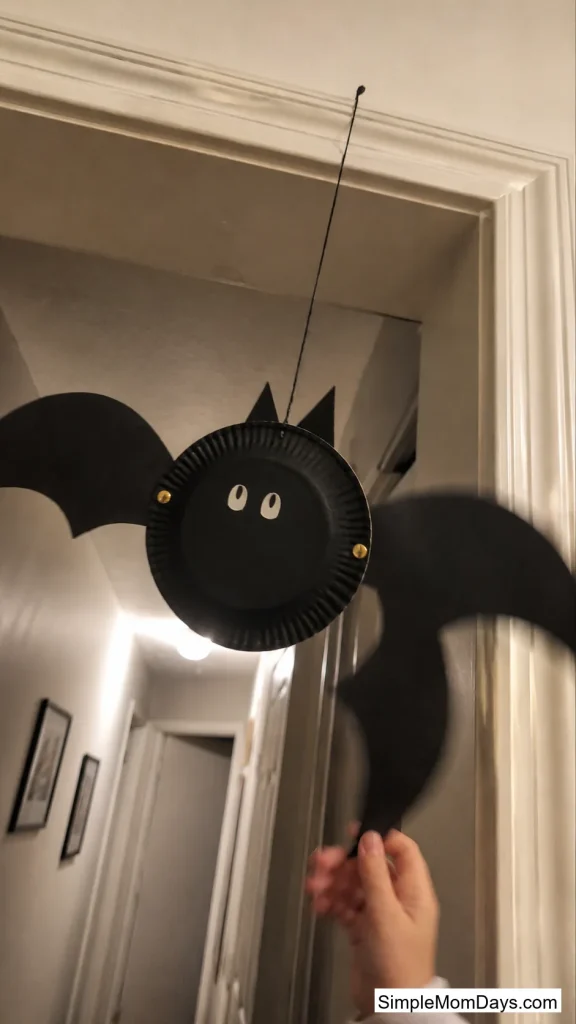
Cut a paper plate into two wing shapes and a small round body, then attach the wings to the body with brass fasteners instead of glue so they swing up and down. Paint everything black, add small white eyes, and hang the finished bat from a doorway where a passing hand can set it flapping.
The brass fastener is the whole trick here — it turns a flat craft into something with actual motion, and kids notice the difference immediately. Younger kids may need help pushing the fastener through, but they can manage the flapping and hanging parts solo.
Hang two or three at slightly different heights over a hallway for an easy Halloween entrance.
5. Rocking Witch on a Broom
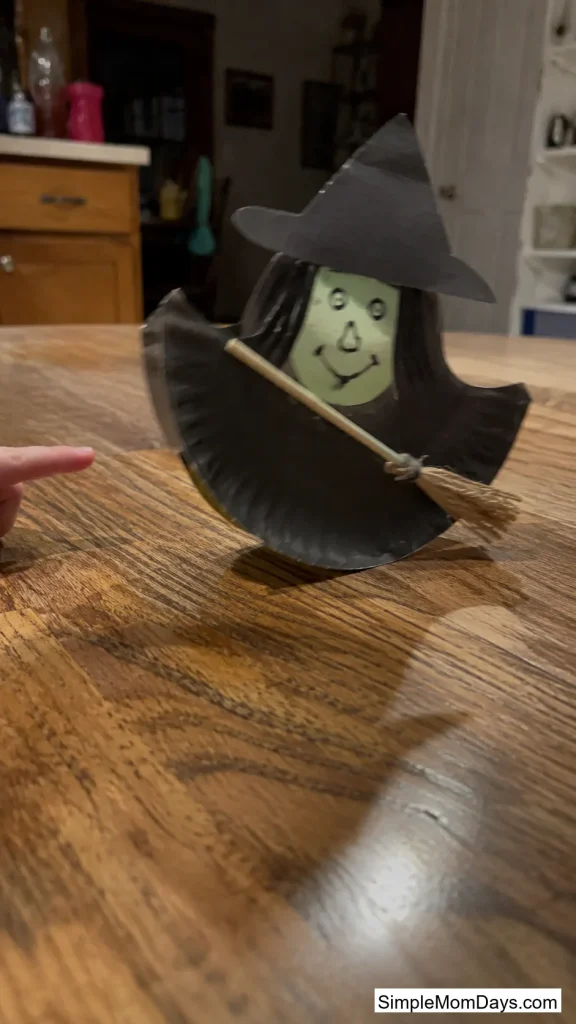
Cut a plate into a curved rocker shape — think the bottom of a rocking chair — and glue a smaller plate witch face and hat on top. Set it on a flat surface and give it a push; the curve makes it rock side to side on its own.
It takes a little more plate-cutting than most items on this list, so it suits kids around 6 and up, or younger kids with an adult handling the scissors work. The payoff is a craft that does something after it’s finished, which keeps interest going well past Halloween night.
A stick broom glued diagonally across the front finishes the look and gives small hands something to grab when they set her rocking.
6. Trick-or-Treat Shaker Tambourine
Fill one paper plate with dried beans or a handful of jingle bells, place a second plate face-down on top, and staple the edges shut. Decorate the outside with a jack-o’-lantern face or Halloween-themed stickers, and the finished shaker rattles every time it’s tapped or shaken.
This one turns a craft session into a noisemaker for a Halloween parade, a classroom party, or just banging around the living room while a scary movie plays in the background. Kids get to choose their own fill — bells for a jingle, dried rice for a softer shush.
Staple most of the way around before adding the filling, then close the last gap so nothing spills mid-craft.

Fine Motor and Sensory Builders
Slower, more hands-on projects that give younger kids extra practice with pinching, threading, and tearing.
7. Yarn-Woven Spiderweb Sewing Card
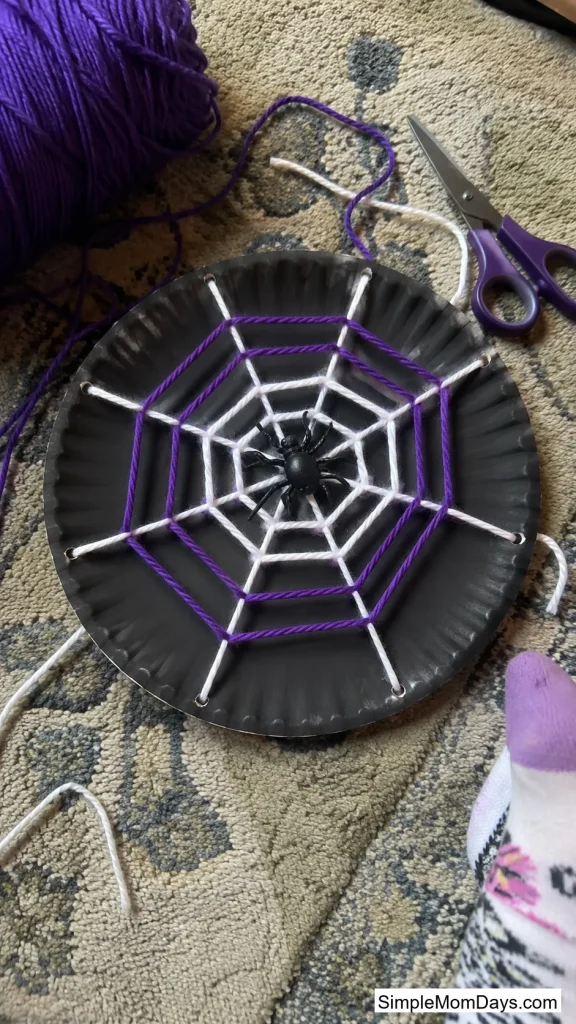
Punch eight to ten holes evenly around the rim of a plate, then let kids thread yarn in and out of the holes to build a web pattern across the front. A plastic spider or a hand-cut paper one glued in the center finishes it off.
The threading motion is closer to real sewing than most kid crafts get, and it holds attention far longer than a five-minute paint project. Kids who struggle with scissors often do well here since there’s no cutting required once the holes are punched.
Use two or three yarn colors so the web pattern actually shows against the plate instead of blending in.
8. Bean and Lentil Mosaic Wreath
Cut the center out of a plate to leave a ring, spread glue across the front, and let kids press on dried black beans, orange lentils, and split peas to build a textured Halloween wreath. The mix of colors and shapes gives a mosaic look without needing tiny paper pieces.
It’s a genuinely sensory activity — kids get to dig through a bowl of beans and lentils with their hands before gluing, which is half the appeal for younger toddlers who aren’t ready for precision crafting yet.
Let the glue dry flat for a full day before hanging, since a wet mosaic sheds beans if it’s moved too soon.

9. Torn-Paper Pumpkin Patch
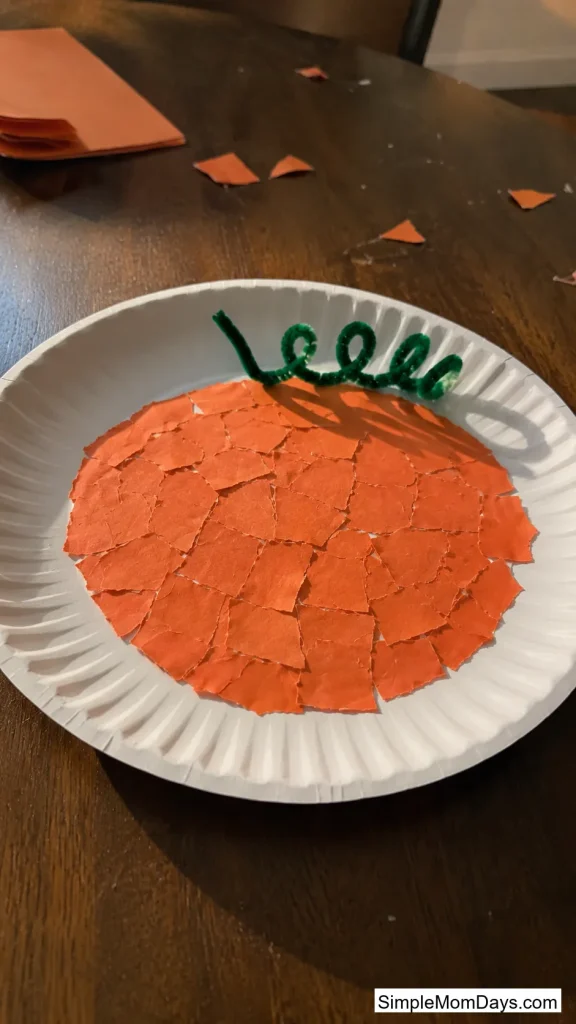
Draw a simple pumpkin outline on a plate, then have kids tear (not cut) orange construction paper into small pieces and glue them inside the lines. The torn edges give the pumpkin a rougher, patchwork texture that a flat paint job doesn’t have.
Tearing paper works the same small hand muscles as cutting, minus the scissors, which makes this a solid option for toddlers who aren’t ready for blades yet but still want to make something that looks finished. A green torn-paper stem and curled pipe cleaner vine round it out.
Set out a small pile of pre-torn scraps if a toddler gets frustrated tearing on their own.
Crafts That Light Up
A little tissue paper or glow paint turns a flat plate into something that actually looks different after dark.
10. Tissue-Paper Jack-o’-Lantern Lantern
Cut a jack-o’-lantern face out of the center of a plate, then glue orange and yellow tissue paper squares over the back of the cut-out shape from the inside. Held up to a window or a flashlight, the tissue paper glows through the face in patches of color.
This gets more visually interesting than a painted pumpkin because the light changes depending on the time of day and how many tissue layers went over each section. A single layer glows brighter; two or three layers give a deeper amber tone.
Tape the plate to a window with the tissue side facing outward for the best glow from inside the house.

11. Glow-in-the-Dark Skeleton X-Ray Plate
Paint a plate black, then use glow-in-the-dark paint to draw a simple ribcage and skull shape across the front. It looks like an ordinary black plate in daylight and turns into a glowing skeleton once the lights go off.
Kids get a kick out of the reveal — it’s a craft with a payoff that happens later, after the glue has dried and the sun’s gone down, which makes it feel more like a small science experiment than a standard art project.
Charge the paint under a bright lamp for a few minutes before bed for the strongest glow.

12. Moon-and-Stars Bat Silhouette
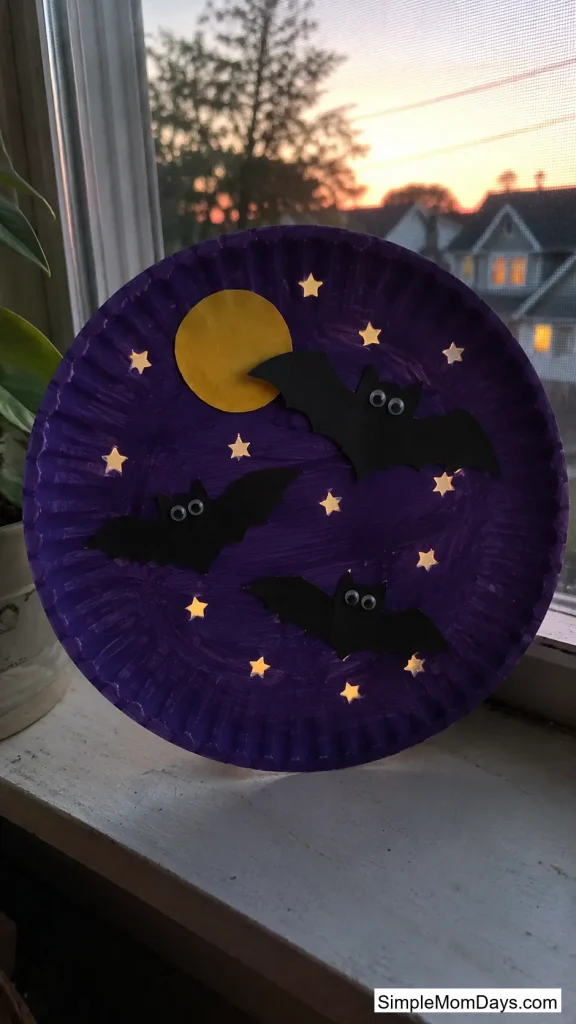
Paint one plate deep blue or purple for the night sky, cut small bat and star shapes out of black paper, and glue them across the front along with a yellow paper moon. Hole-punch a few of the star spots and back them with tissue paper for a bit of light-catching sparkle near a window.
It reads more like nighttime decor than a typical spooky craft, so it works well for kids who like Halloween’s aesthetic without wanting anything genuinely scary on their wall.
Vary the bat sizes across the plate so it looks like they’re flying at different distances instead of lined up in a row.
Fun Party Pieces
Bigger, sillier builds that work well as a party activity or a craft table with a few kids working at once.
13. Bubbling Cauldron Plate
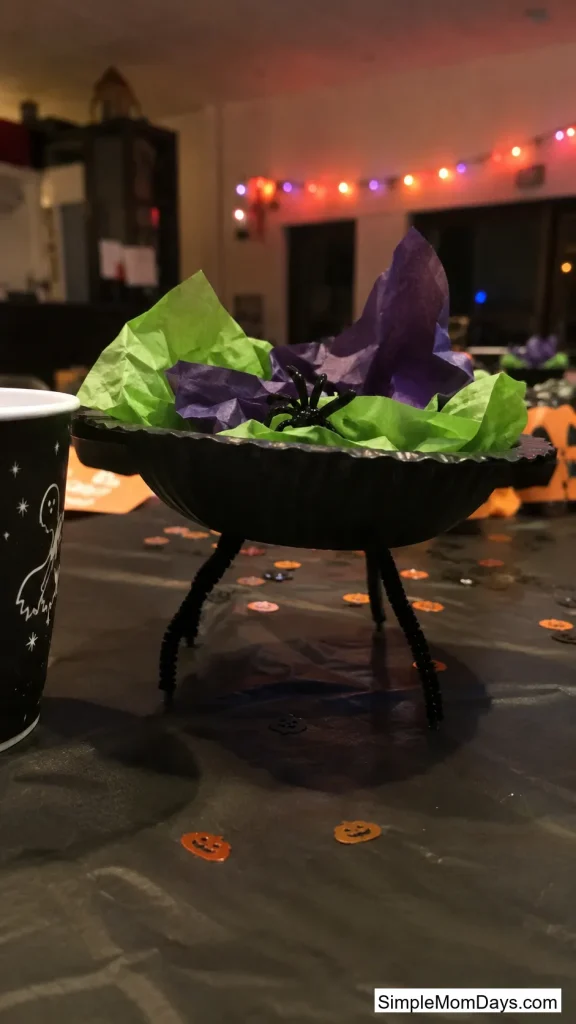
Paint a plate black and glue on three bent black pipe cleaner legs underneath so it stands slightly propped up like a real cauldron. Fill the top with crumpled green and purple tissue paper “bubbling brew,” and let a few plastic spider rings or eyeballs peek out from the mix.
It’s an easy group activity since the tissue-paper stuffing step doesn’t require precision — any kid can grab a handful and scrunch it into the plate. Set a few out along a party table as centerpieces once they’re done.
Add a paper handle across the top if you want it to look like it’s ready to be carried by a witch.
14. UFO Abducting a Pumpkin
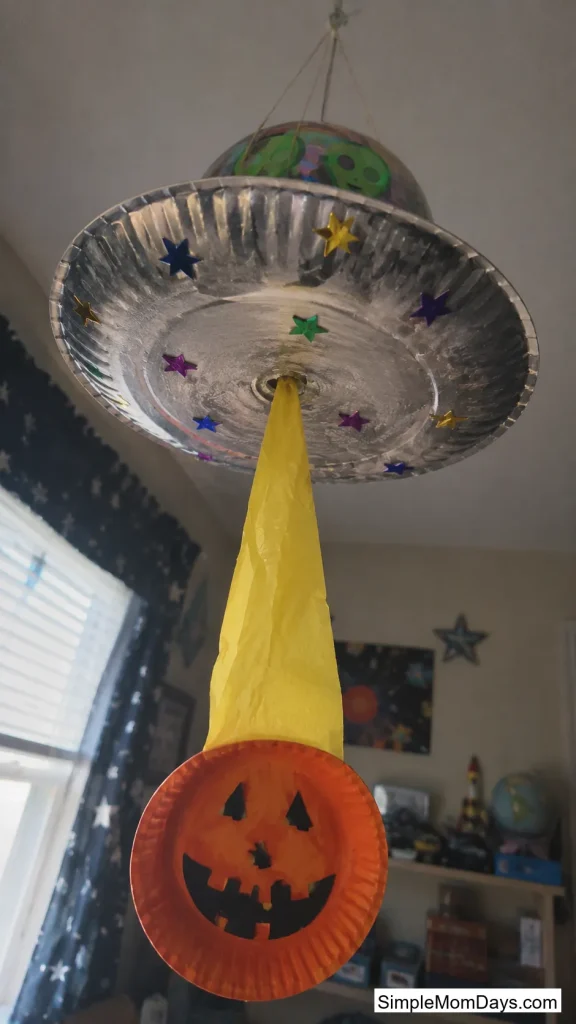
Paint one plate silver or gray for the flying saucer and a second small plate orange for a pumpkin. Glue the pumpkin plate partway behind the saucer plate with a cone of yellow tissue paper stretching between them, like a beam pulling it up.
This one always gets a laugh at a craft table because it’s not a character kids have made a dozen times before — it’s a mashup nobody’s expecting. String lights or glued-on silver stars around the edge of the saucer add a nice finishing touch.
Works well as a mobile hung from the ceiling, tilted slightly so the “beam” reads clearly from below.
15. Candy Corn Garland Plate
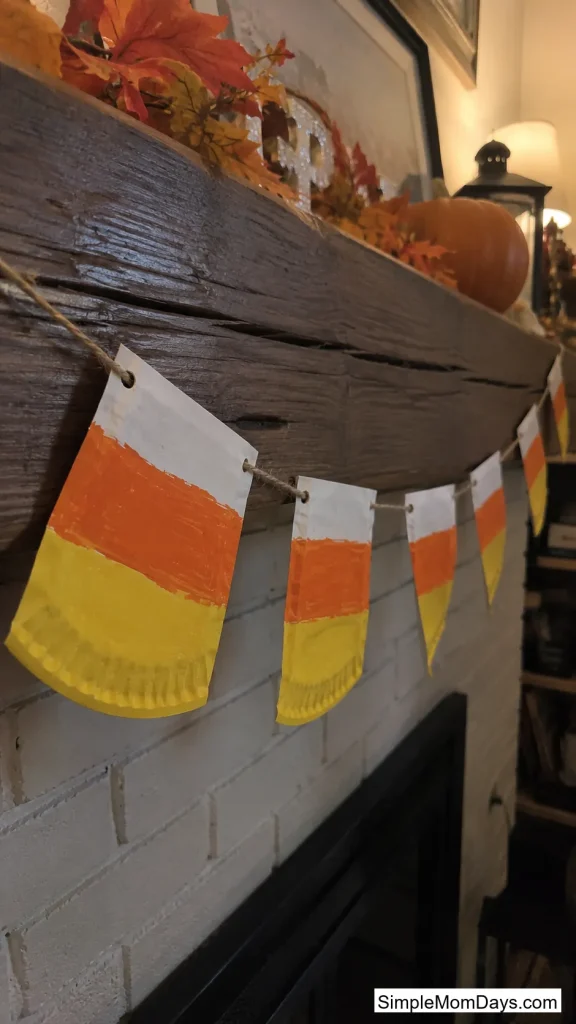
Cut a plate into triangle segments, paint each one in the classic yellow-orange-white candy corn stripes, and punch a hole in the top of each piece. String five or six triangles together on a length of twine for a garland that stretches across a mantel or doorway.
Because each triangle is a small, separate piece, this works well for a group of kids working at one table — everyone paints a few triangles, and they all get strung together into one shared decoration at the end.
Alternate the stripe direction on every other triangle for a garland that has a little visual rhythm instead of looking uniform.
Fifteen is plenty to rotate through over a few weekends in October, and there’s no rule saying you have to do them in order. Pull out whichever supplies you already have on hand, let the kids pick which one looks the most fun, and go from there.