
Carving a pumpkin sounds fun right up until you’re elbow-deep in stringy pulp, the knife slips on the third try, and the whole thing caves in on itself by day five. It’s messy, it doesn’t last, and if you’ve got kids “helping,” you’re the one doing 90% of the work anyway.
None of that happens with a no-carve pumpkin. No knife, no scooping, no seeds stuck to the counter for a week. A painted or wrapped pumpkin can sit on a porch for two months without softening, which matters if you’re the type who puts pumpkins out on September 1st and isn’t taking them down until Thanksgiving.
Below are 17 ways to dress up a pumpkin, real or faux, without cutting into it once. Some take five minutes with a paint pen, others take an afternoon, but none of them need a single sharp tool.
Elegant & Neutral Finishes
Not every pumpkin needs to scream Halloween. These four lean into a softer, more grown-up palette that fits right alongside regular fall decor.
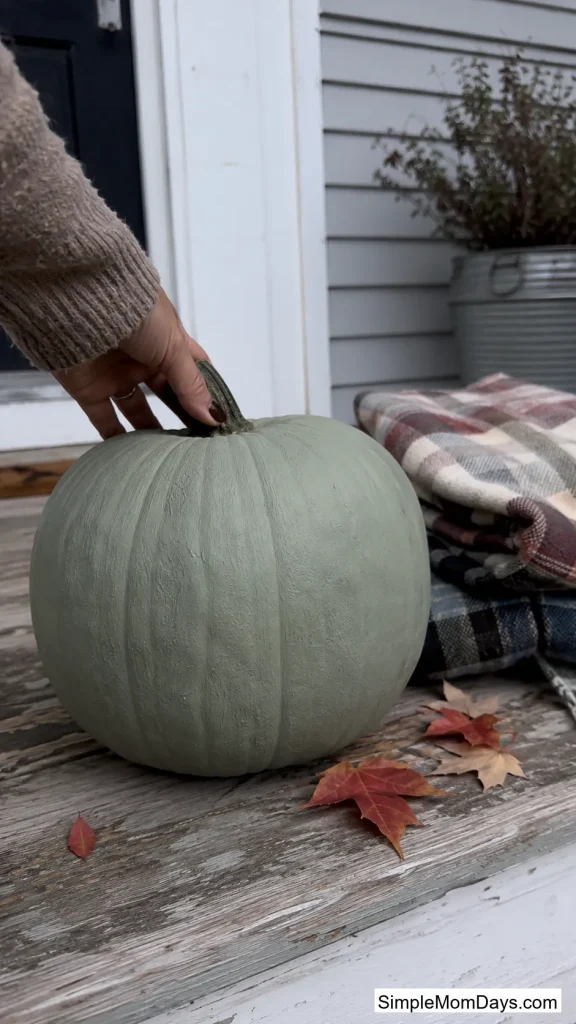
1. Chalky Vintage Paint Pumpkins
A coat of chalk-style paint in sage, cream, or dusty blue turns an ordinary orange pumpkin into something that looks like it came from an antique shop. The matte, slightly powdery finish is what sells the look — it reads aged, not painted.
One coat over the natural orange still lets faint ridges show through, which actually helps. Two coats hide everything for a fully opaque, uniform color.
A quart of chalk paint runs about $12–$15 and covers 10–12 medium pumpkins, so this is one of the cheaper ways on this list to redo an entire porch display at once.
2. Mercury Glass Spray Pumpkins
Mercury glass spray paint gives a pumpkin that antique silvery, slightly clouded reflection you’d normally pay a lot for in a home goods store. Spray it on, then dab the surface with water while it’s still wet to create the mottled, aged pattern.
Faux pumpkins work better here than real ones since the spray needs a smooth, non-porous surface to bead up properly. A real pumpkin’s texture fights the effect.
Do this outside or in a garage — the spray has a strong odor for the first hour or two, then it fades completely once dry.

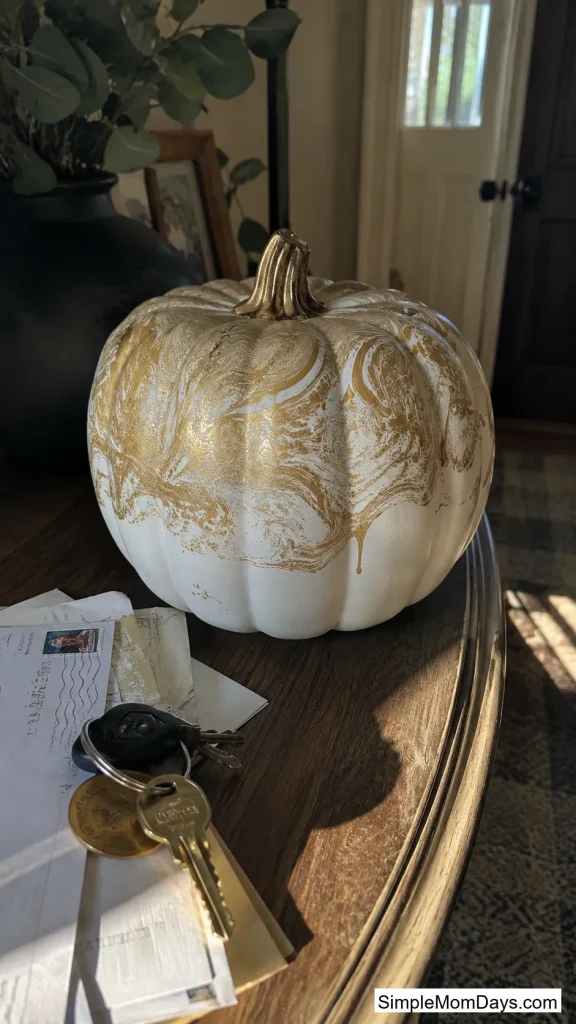
3. Gold-Marbled Water-Dip Pumpkins
Fill a shallow container with a few inches of water, drop liquid gilding onto the surface with a straw or popsicle stick, and swirl it before dipping the top of a white pumpkin straight through. Whatever pattern the gilding forms on the water transfers onto the pumpkin in one dunk.
Every pumpkin comes out different, which is the actual selling point. No two swirls land the same way twice, so a row of five looks like five separate pieces rather than a repeated craft project.
4. Wood Slice Pumpkins
Cross-cut slices from a fallen tree branch, stacked and glued in a pumpkin shape with a small stick for the stem, skip paint and craft supplies almost entirely. Sand the slices smooth, seal with a clear coat, and that’s the whole project.
This one works best as a small tabletop accent rather than a porch centerpiece — a stack of three or four slices lands around 6 inches tall.

Textured DIY Techniques
Flat paint is fine, but these four change how the pumpkin actually feels under your hand, not just how it looks from across the room.
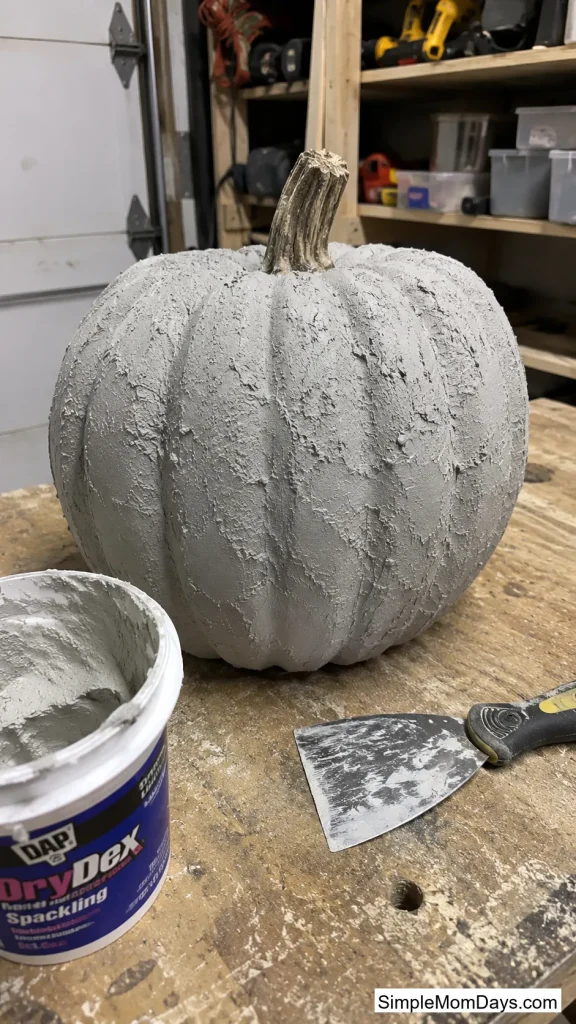
5. Spackle-Textured Pumpkins
A thin layer of regular wall spackle, applied with a putty knife over a foam pumpkin, dries into a rough, stone-like surface once you paint over it. It’s a strange material to reach for, but it turns a $4 craft-store foam pumpkin into something that looks carved from concrete.
Let the spackle dry fully — usually overnight — before painting, or it cracks when the paint pulls at it.
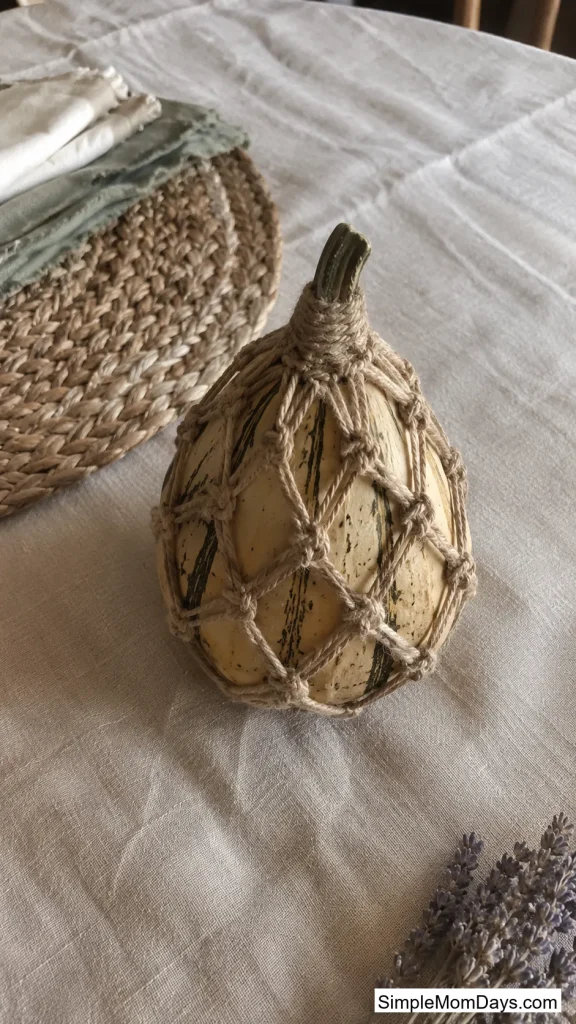
6. Macramé-Wrapped Gourds
Knotted cord wrapped around a gourd in a macramé pattern looks more like a plant hanger than a Halloween decoration, which is exactly why it stands out on a table full of orange pumpkins. Natural jute cord in a simple diagonal or diamond knot pattern is enough — you don’t need advanced macramé skills for this to look intentional.
This one photographs especially well against a plain linen tablecloth or a neutral console table.
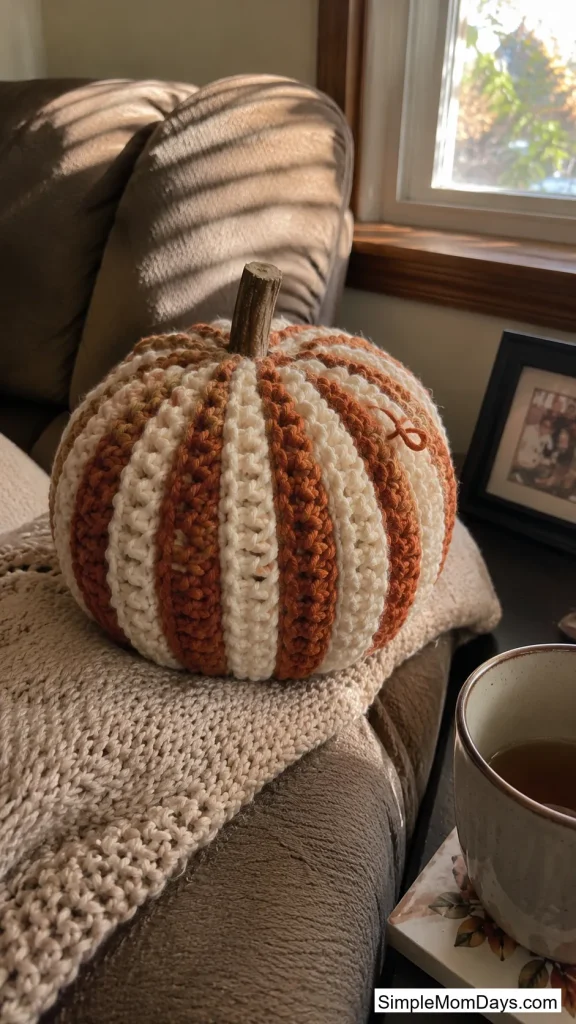
7. Yarn-Wrapped Pumpkins
Wrapping chunky yarn around a faux pumpkin base, working row by row from the stem down, replaces the pumpkin’s texture entirely with a soft, knit-look surface. Two colors wound in alternating sections make it look woven rather than wrapped.
Hot glue holds the starting and ending rows in place; the rest of the yarn stays put from tension alone once it’s wound tight.
8. Nailhead Trim Pumpkins
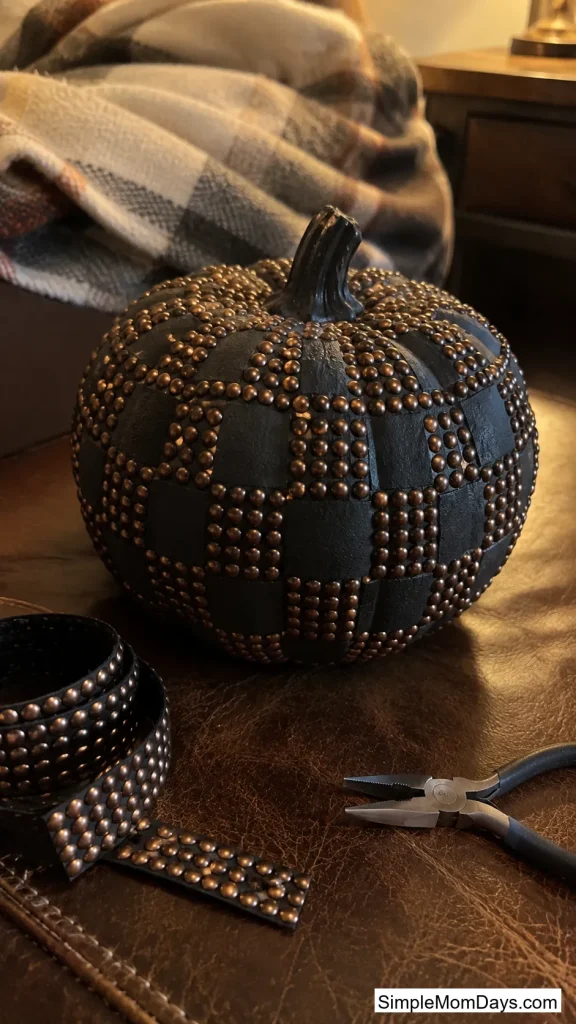
Upholstery nailhead trim, pressed into a foam pumpkin in stripes, spirals, or a checkerboard grid, gives an industrial, almost furniture-like finish. A roll of nailhead trim costs around $8–$10 at a fabric store and covers two or three medium pumpkins.
Foam pumpkins are soft enough to push the pins in by hand — no hammer needed, which makes this one safer for older kids to help with than it sounds.
Kid-Friendly & Mess-Free Crafts
These three keep the cleanup to almost nothing, which matters if the “crafting” is actually happening at your kitchen table with a 6-year-old.
9. Concrete-Dipped Mini Pumpkins
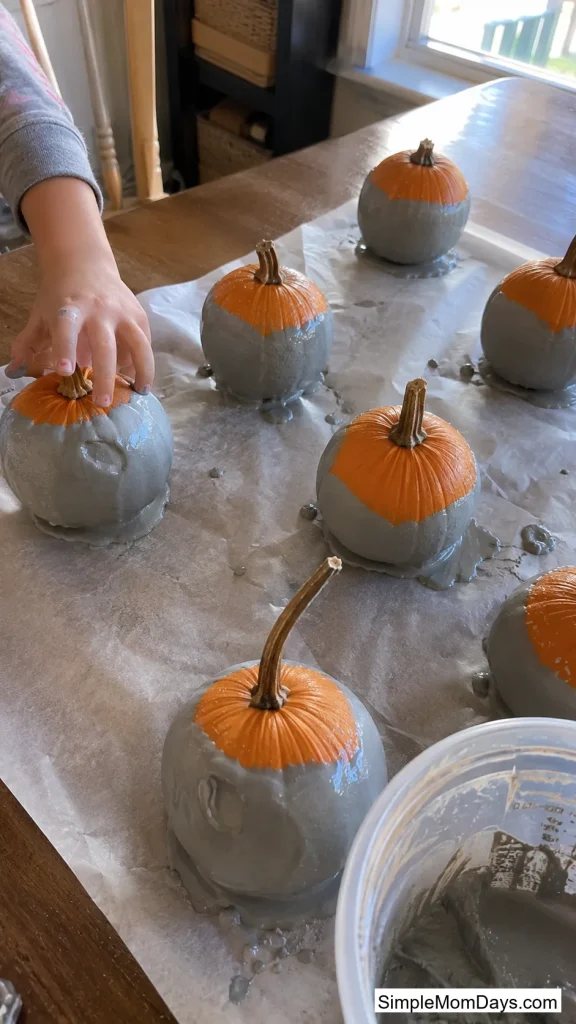
Mini foam pumpkins dipped in a thin, quick-drying concrete mix come out looking like solid stone once the coating sets, but they stay light enough for a small child to carry around without dropping anything heavy. A tub of quick-set concrete mix runs under $10 and covers a dozen mini pumpkins easily.
Let each one dry flat on wax paper for about an hour before handling — the coating stays wet and drippy right after dipping.
10. Temporary Tattoo Pumpkins
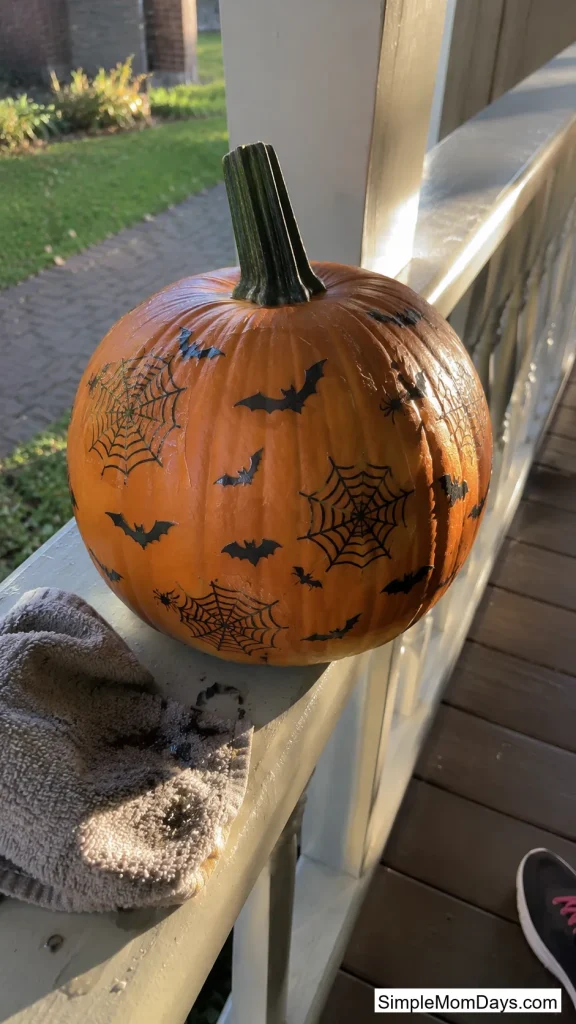
Kids’ temporary tattoos, pressed onto a plain painted pumpkin with a damp cloth, work exactly the same way they do on skin. A full pumpkin covered in spiderweb, bat, or moon tattoos takes about 10 minutes and needs zero drying time for the tattoos themselves.
A light coat of matte sealer over the top locks the tattoos down so they don’t peel if the pumpkin sits outside for a few weeks.
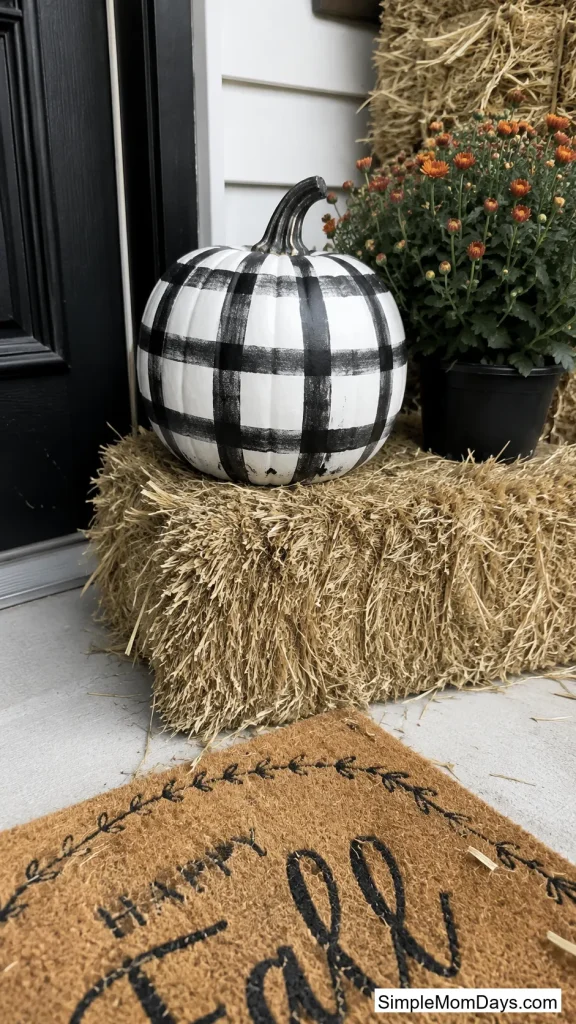
11. Buffalo Check Painted Pumpkins
Painter’s tape laid in a grid, then filled in with black or navy paint over a white base, gives a clean buffalo check pattern without any freehand drawing. Peel the tape while the paint is still slightly tacky, not fully dry, or the edges pull up unevenly.
This pattern reads as more “fall decor” than “Halloween,” so it’s an easy one to leave out through Thanksgiving without swapping anything.
Vintage & Bookish Touches
Paper, print, and pressed botanicals give a pumpkin a collected, old-shelf feel instead of a craft-store one.
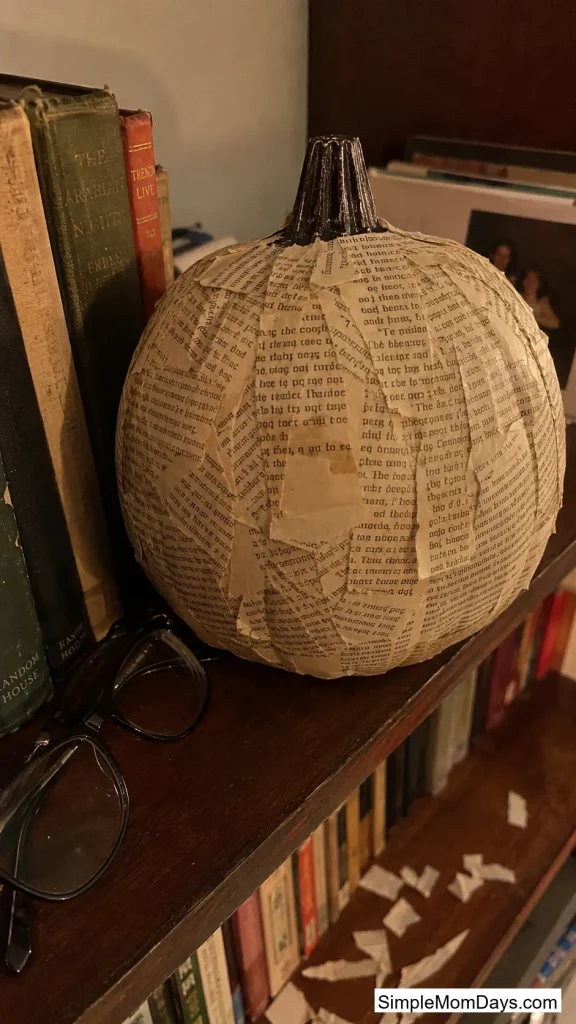
12. Book Page Decoupage Pumpkin
Torn pages from an old paperback, brushed with Mod Podge and layered over a foam pumpkin, cover the whole surface in overlapping text and creased edges. Tearing the pages unevenly by hand, rather than cutting them straight, is what makes the final look feel found instead of assembled.
A single $1 secondhand book covers two to three medium pumpkins, so this is one of the more budget-friendly options here.
13. Pressed Flower Decoupage Pumpkin
Dried, pressed flowers — pansies, ferns, small daisies — applied with tweezers over a wet layer of decoupage glue and sealed with a second coat, give a pumpkin a botanical, slightly faded look. Flatter flowers work better than anything with thick petals, since raised edges catch and peel during the sealing coat.
This one takes patience more than skill — placing each flower is slow work, but a single pumpkin can take 30–40 minutes from start to finish.

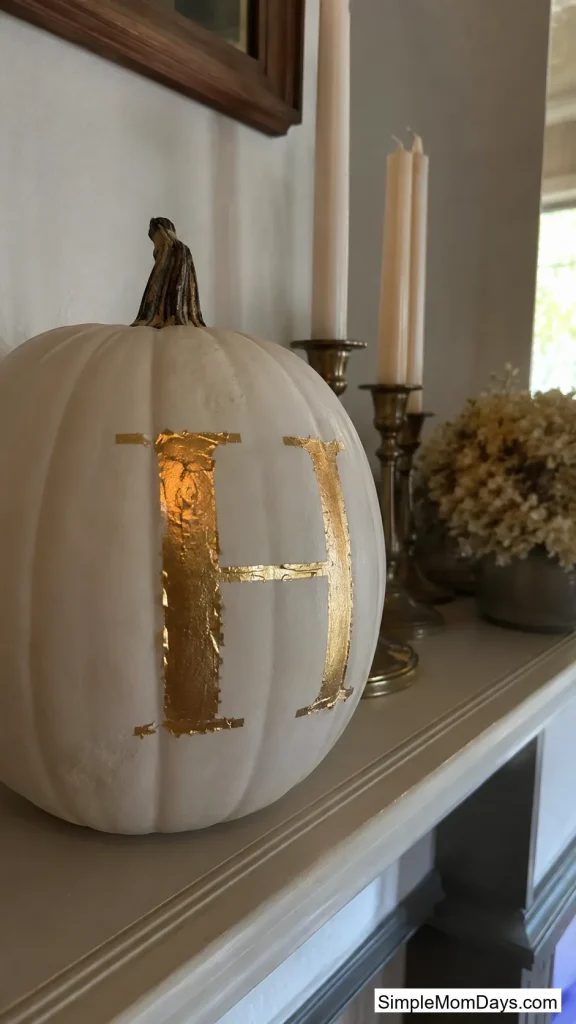
14. Metallic Leaf Monogram Pumpkin
A single letter, sketched onto a pumpkin in leaf adhesive and covered with gold or silver metal leaf sheets, gives a personalized look without any painting skill required. Brush off the excess leaf once the adhesive fully dries — usually 15–20 minutes — for clean, sharp edges.
This works especially well lined up along a mantel with one letter per pumpkin spelling out a family name or a short word like “BOO.”
Bold Statement Pumpkins
These three are for the pumpkin that’s meant to be the first thing anyone notices.
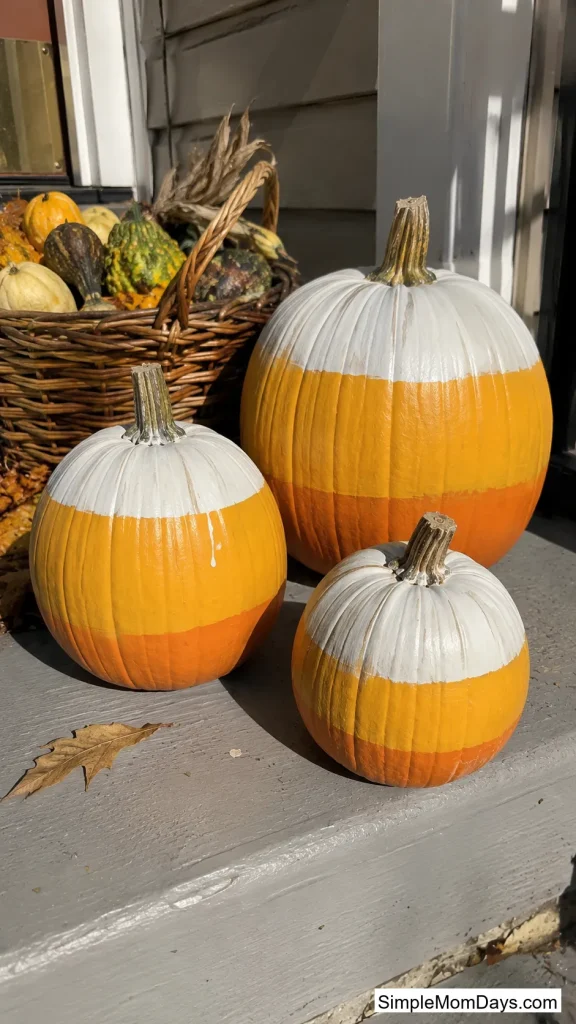
15. Candy Corn Painted Pumpkin
Marigold paint across the bottom third, white across the top, and the pumpkin’s own natural orange left showing in the middle turns one pumpkin into an oversized piece of candy corn. There’s no drawing involved — just two horizontal paint lines and letting the pumpkin’s real color do the rest.
A cluster of three or four of these together, stacked at slightly different heights, reads instantly even from across a yard.
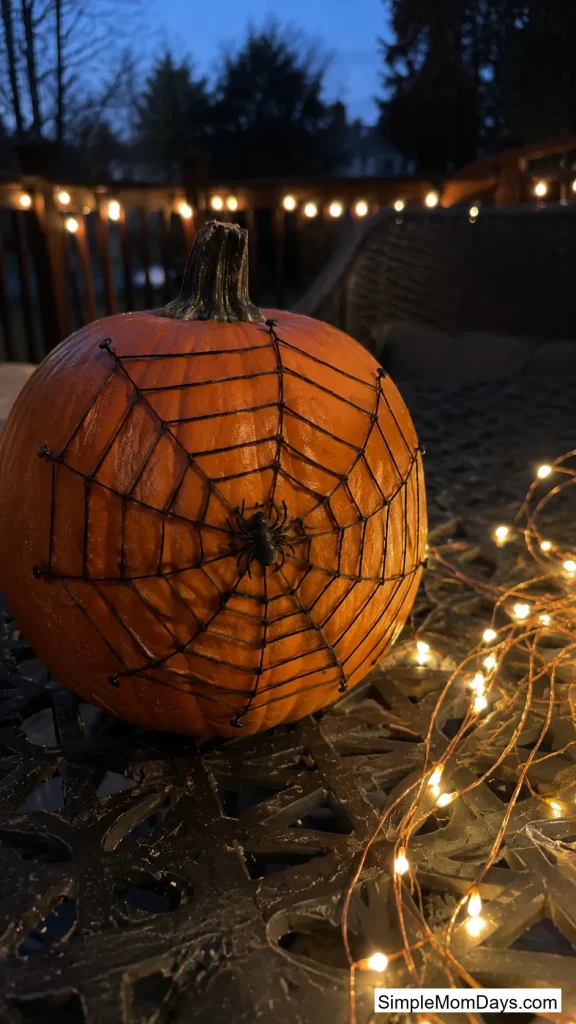
16. Spiderweb String Art Pumpkin
Small nails or pins pushed into a foam pumpkin in a spiral, then wrapped with black thread pulled taut in a web pattern, creates a raised, dimensional spiderweb instead of a painted one. A dollar-store plastic spider glued at the center finishes it off.
This takes longer than most items on this list — closer to an hour for a full web — but the result has a level of detail a stencil can’t match.
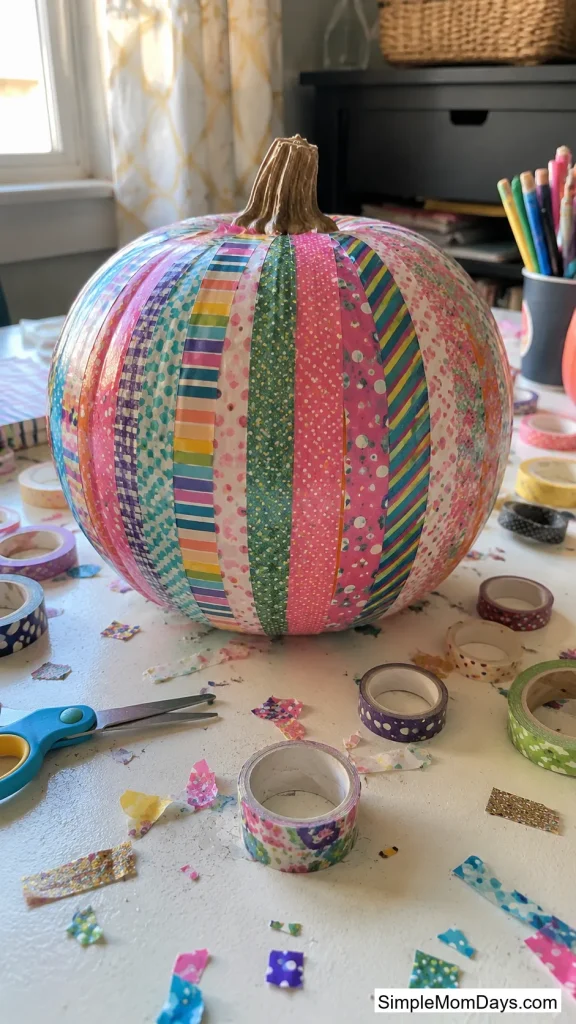
17. Fabric Tape Striped Pumpkins
Colorful washi or fabric tape, applied in vertical or diagonal stripes straight from the roll, needs no paint, no drying time, and no mess at all. A pumpkin can be fully covered in under 10 minutes, and the tape peels off cleanly if you want to redo it partway through the season.
Mixing two or three coordinating tape patterns on one pumpkin, rather than a single solid color, keeps this from looking like a plain wrapped gift.
Final Thoughts
Seventeen ideas is a lot to choose from, but you don’t need to pick just one. A porch with three or four different techniques — a chalky neutral pumpkin next to a bold candy corn one, say — tends to look more collected than a dozen pumpkins all done the exact same way. Grab a few pumpkins, real or faux, and start with whichever one you already have the supplies for sitting in a drawer somewhere.